4. Service Policies
This guided lab is used to configure service policies which are used in conjuntion with WAF policies to add additional security controls to an application. The steps in this guide are based on the Service Policy How To guide, as well as the IP Reputation How to
Namespace Service Policies
This section of the guided lab will Add geo-filter and allowed-ip based service policies.
In the left-hand navigation menu, expand the
Securitysection and clickService Policies. In the flyout menu, click theService Policieslink.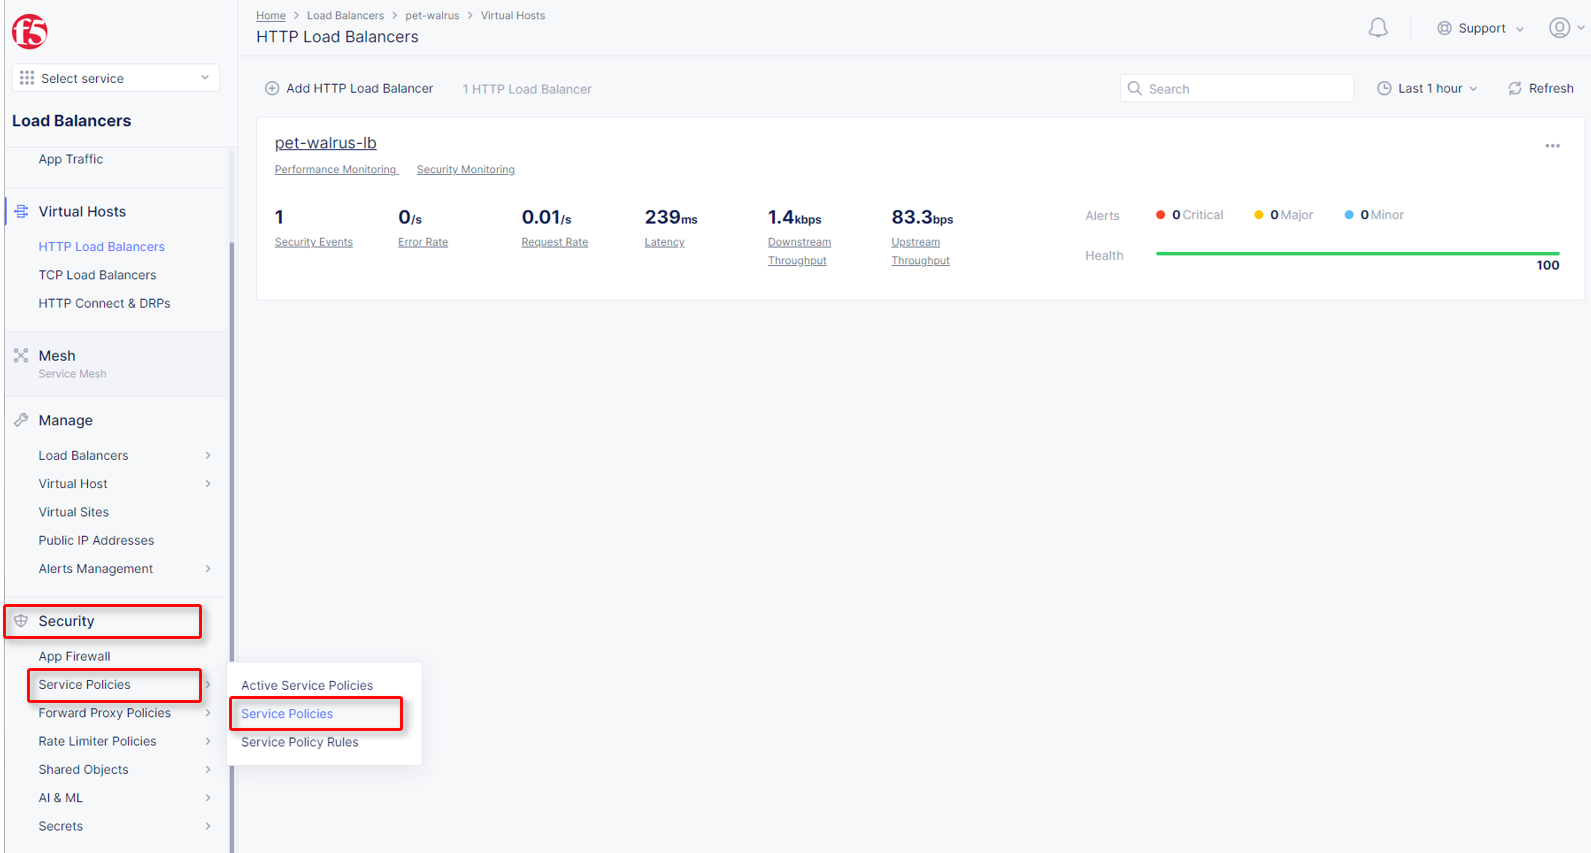
Click
Add Service Policyin the top left area as shown.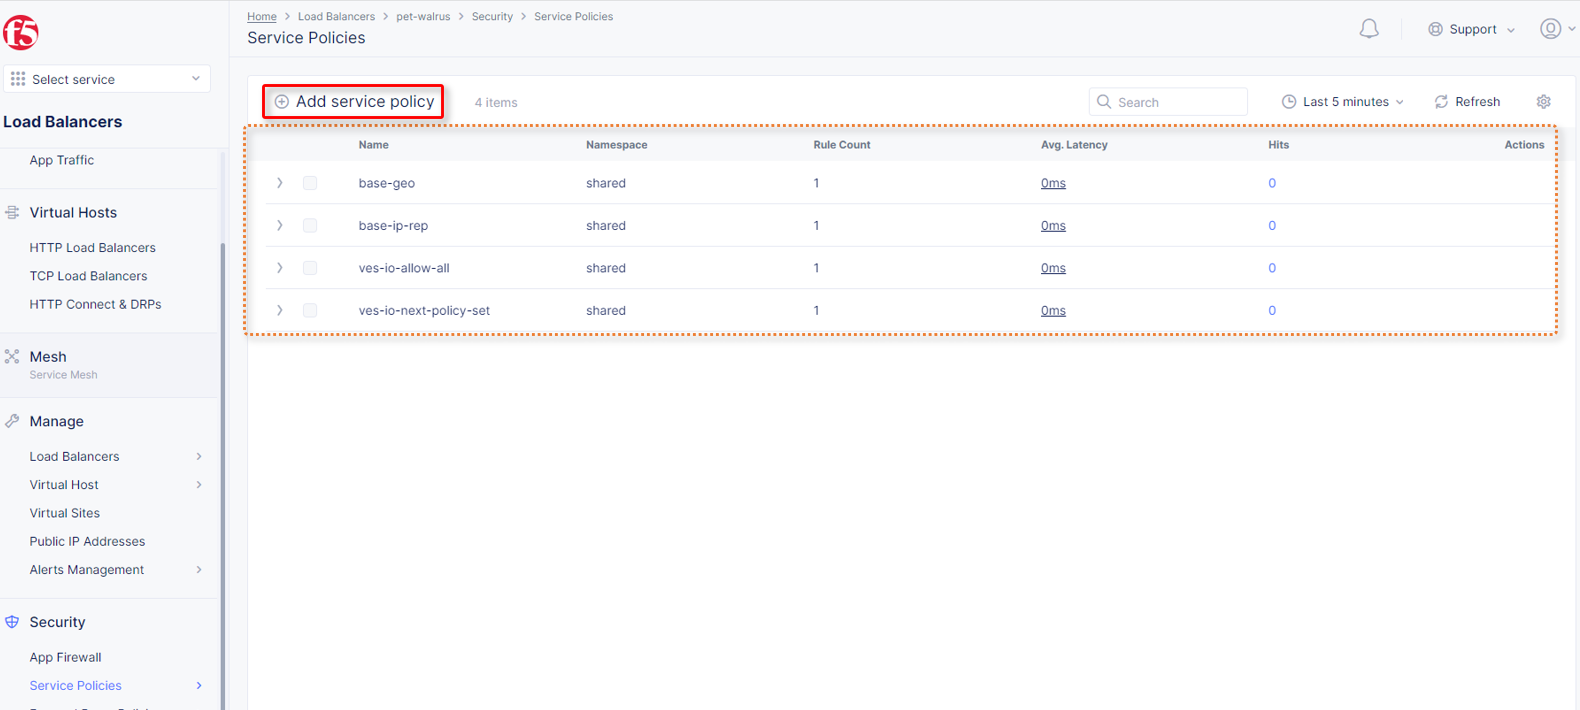
In the
Metadatasection entergeo-filterfor theNameand then clickRulesin the left-hand navigation.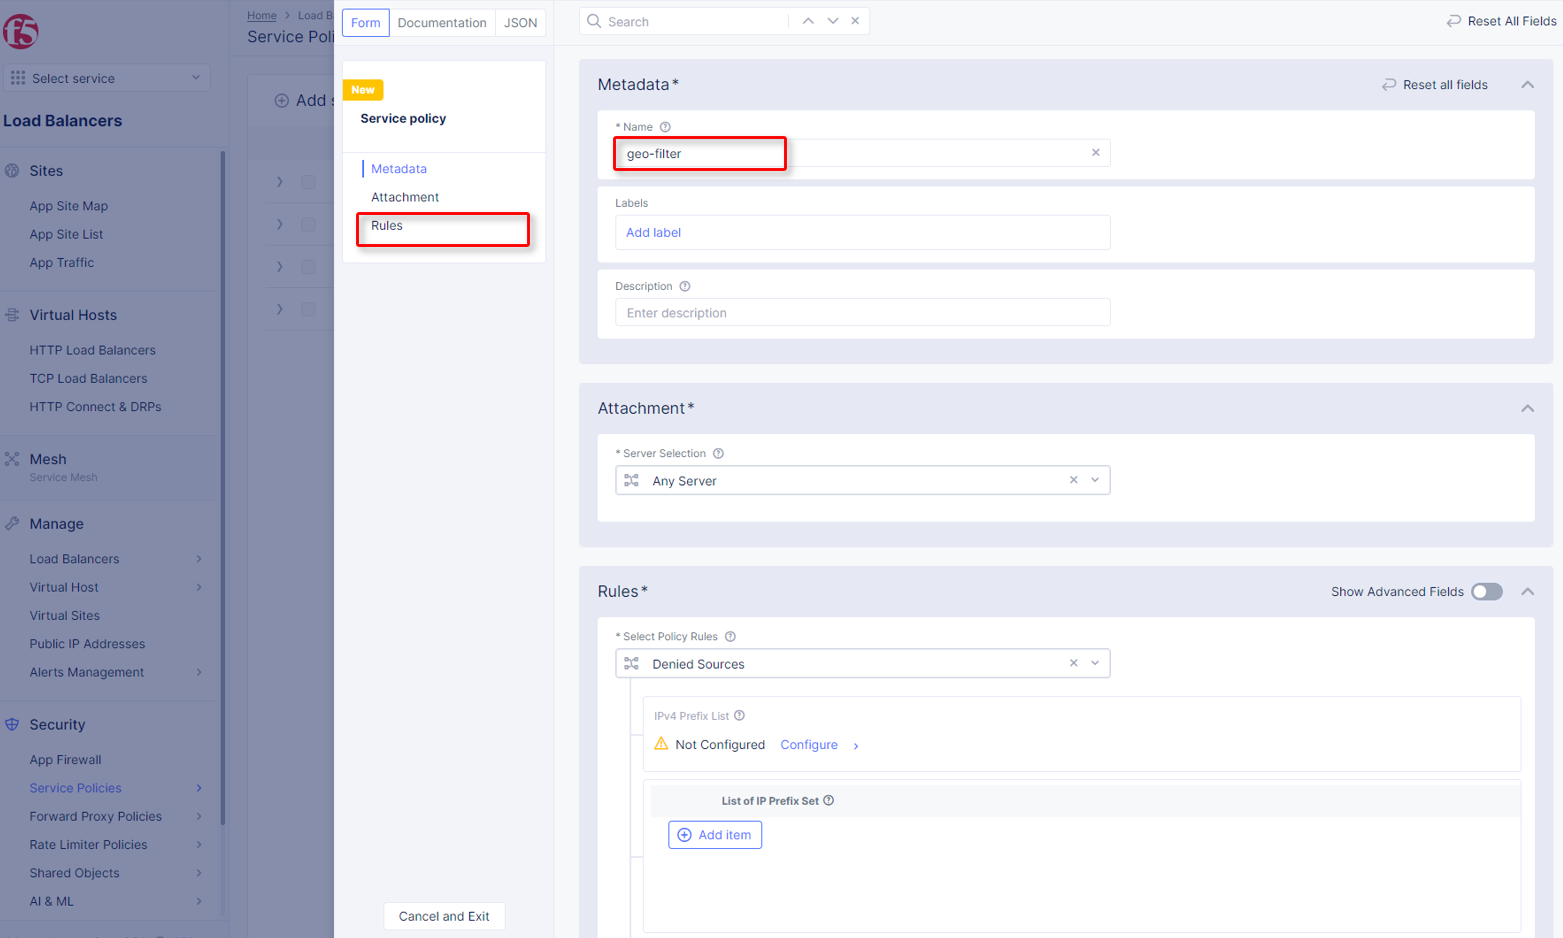
Select
Denied Sourcesfrom the dropdown forSelect Policy Rules.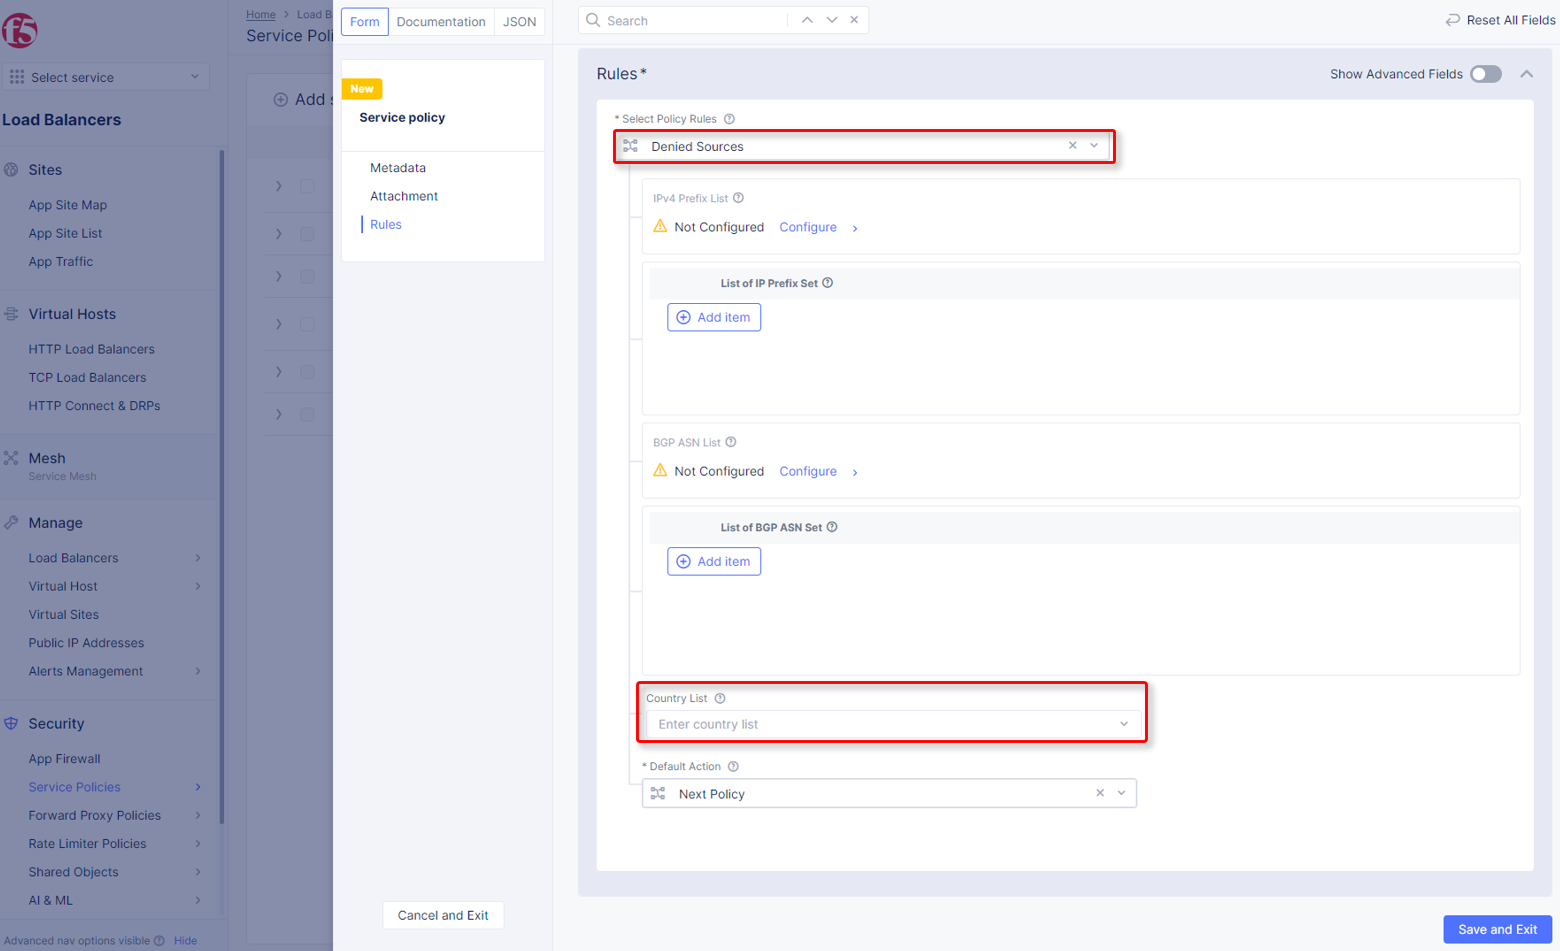
Locate the
Country Listinput field, and begin typingFiji, and then select it from the list that appears.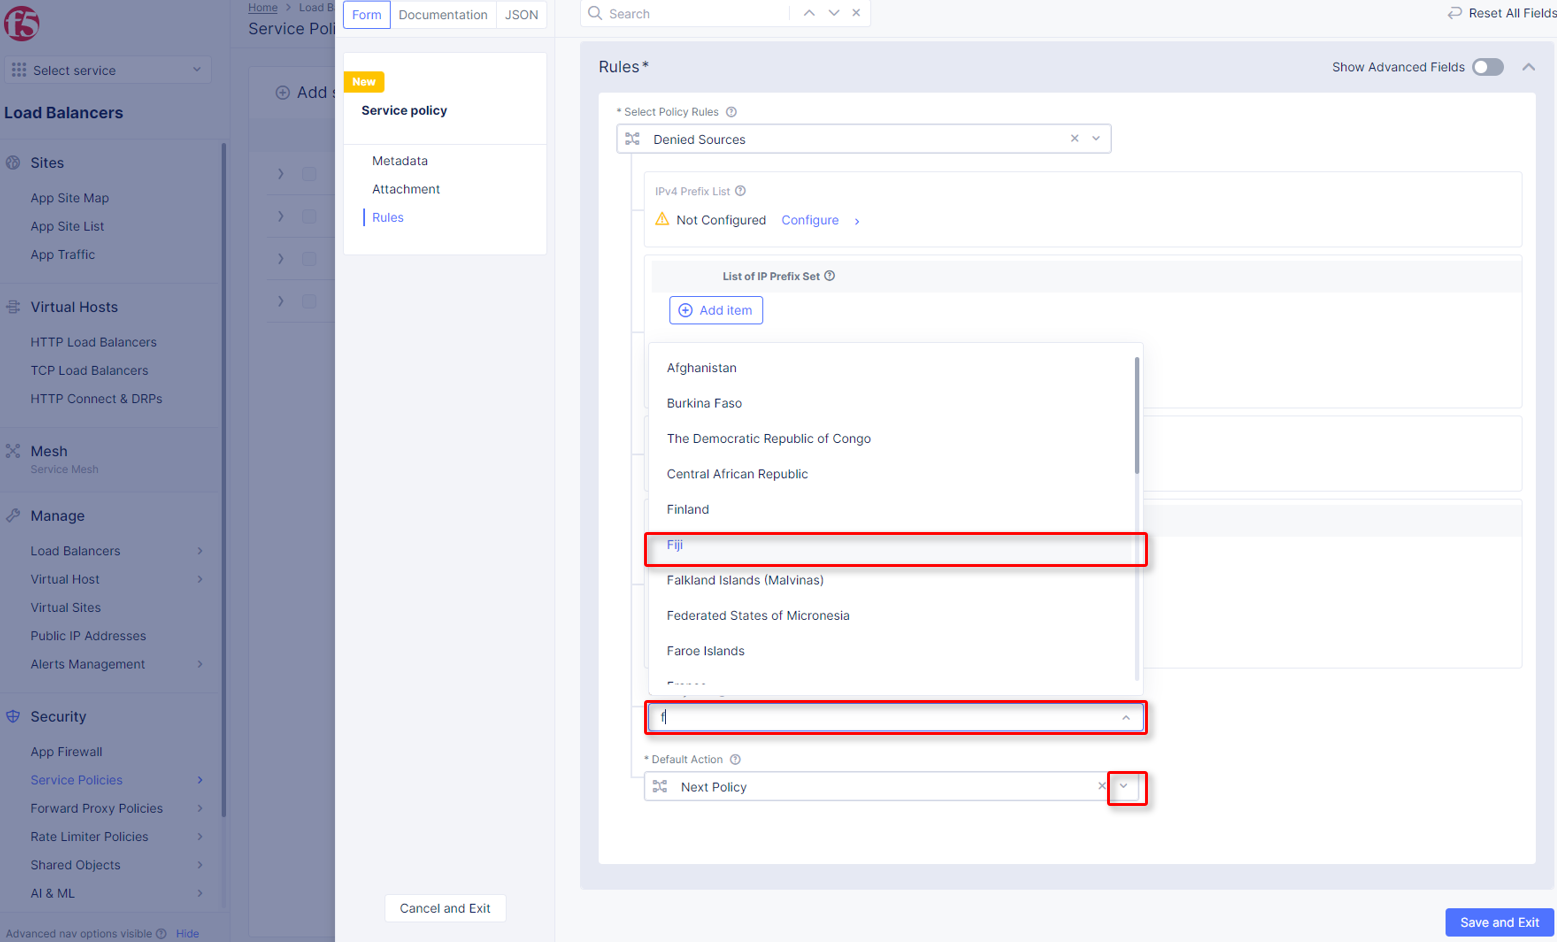
Click the dropdown for
Default Action. Observe the available options and selectNext Policythen clickSave and Exit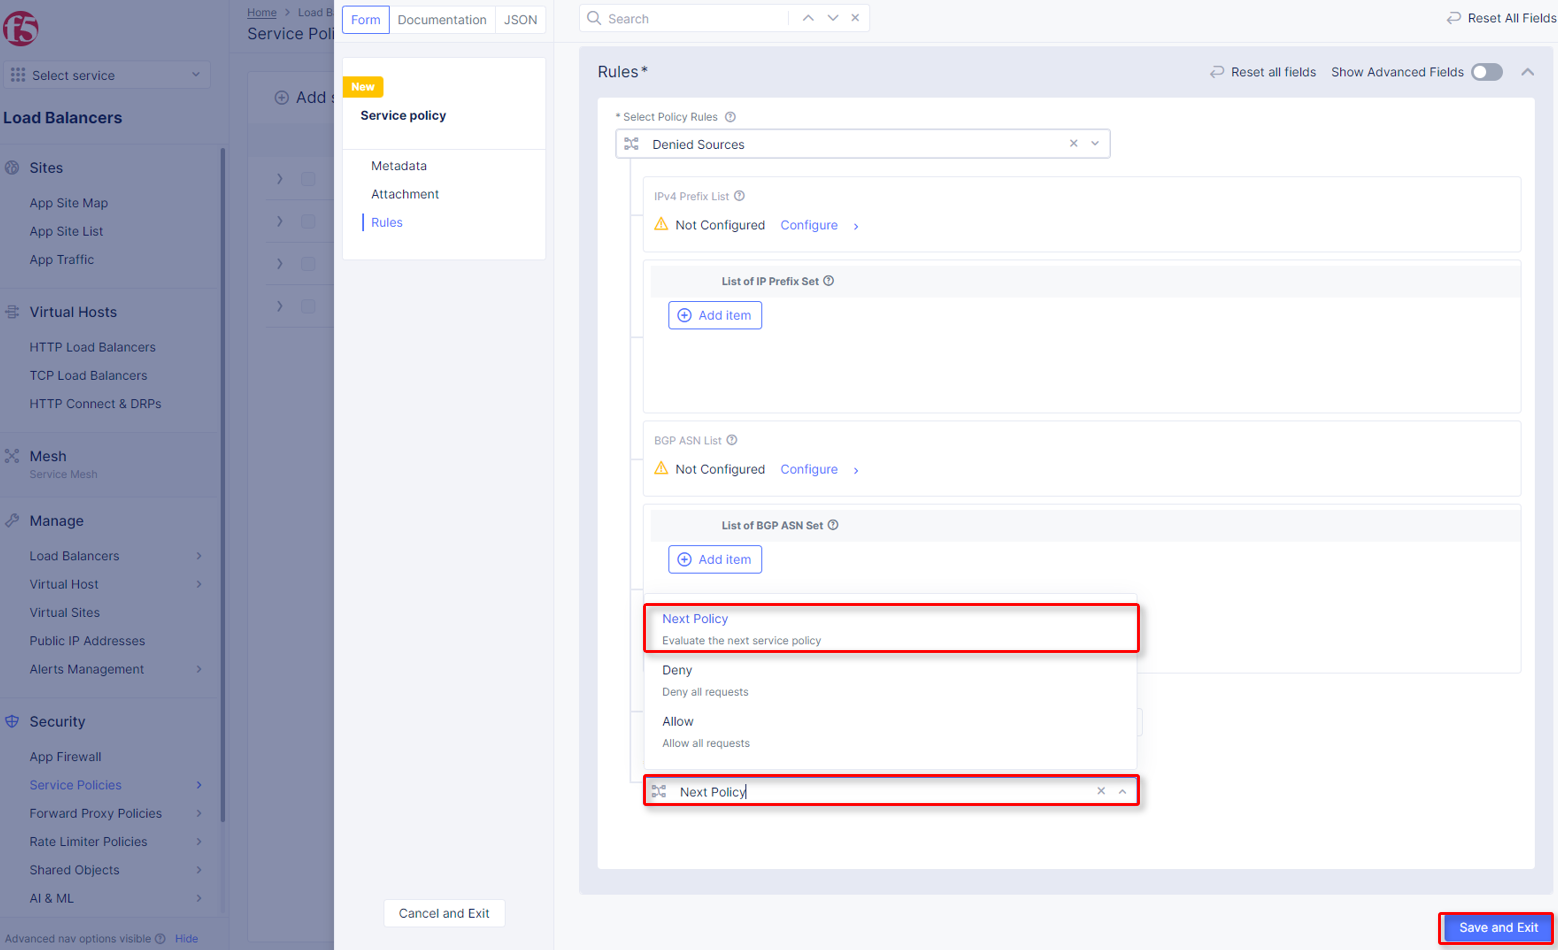
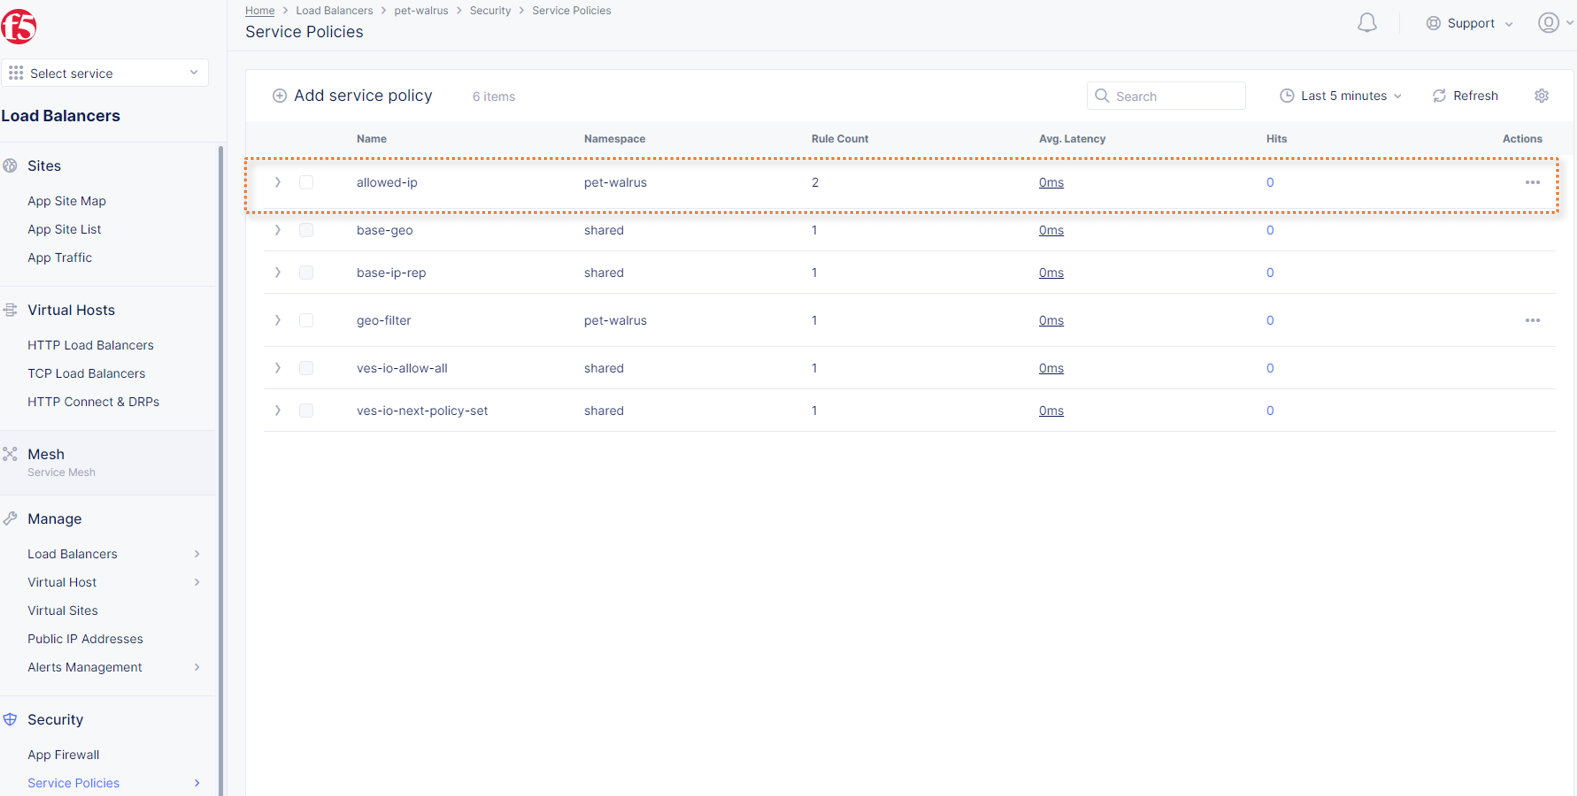
Observe the resulting added
geo-filterService Policy added in your namespace.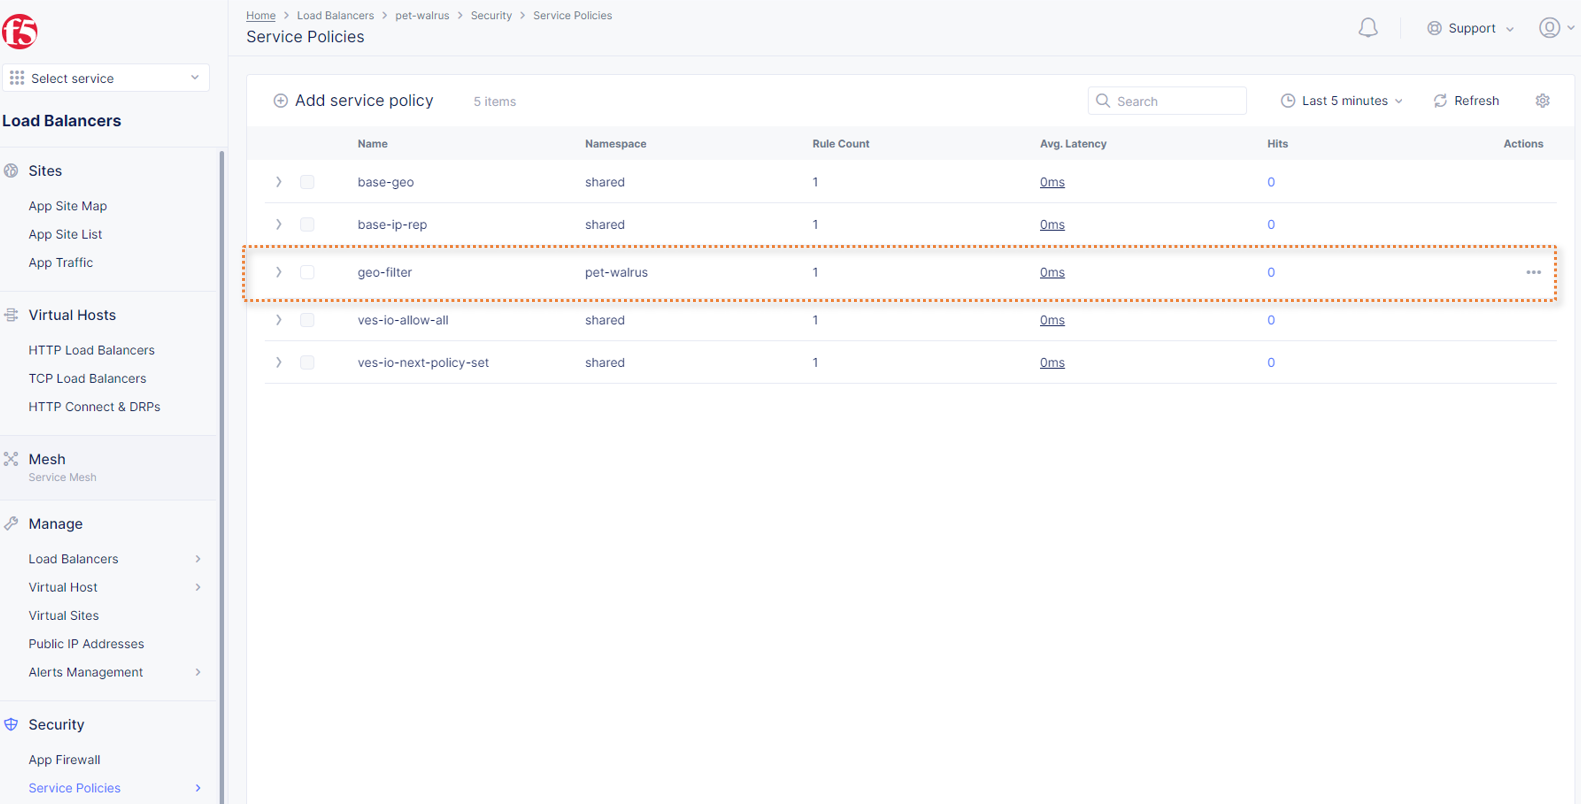
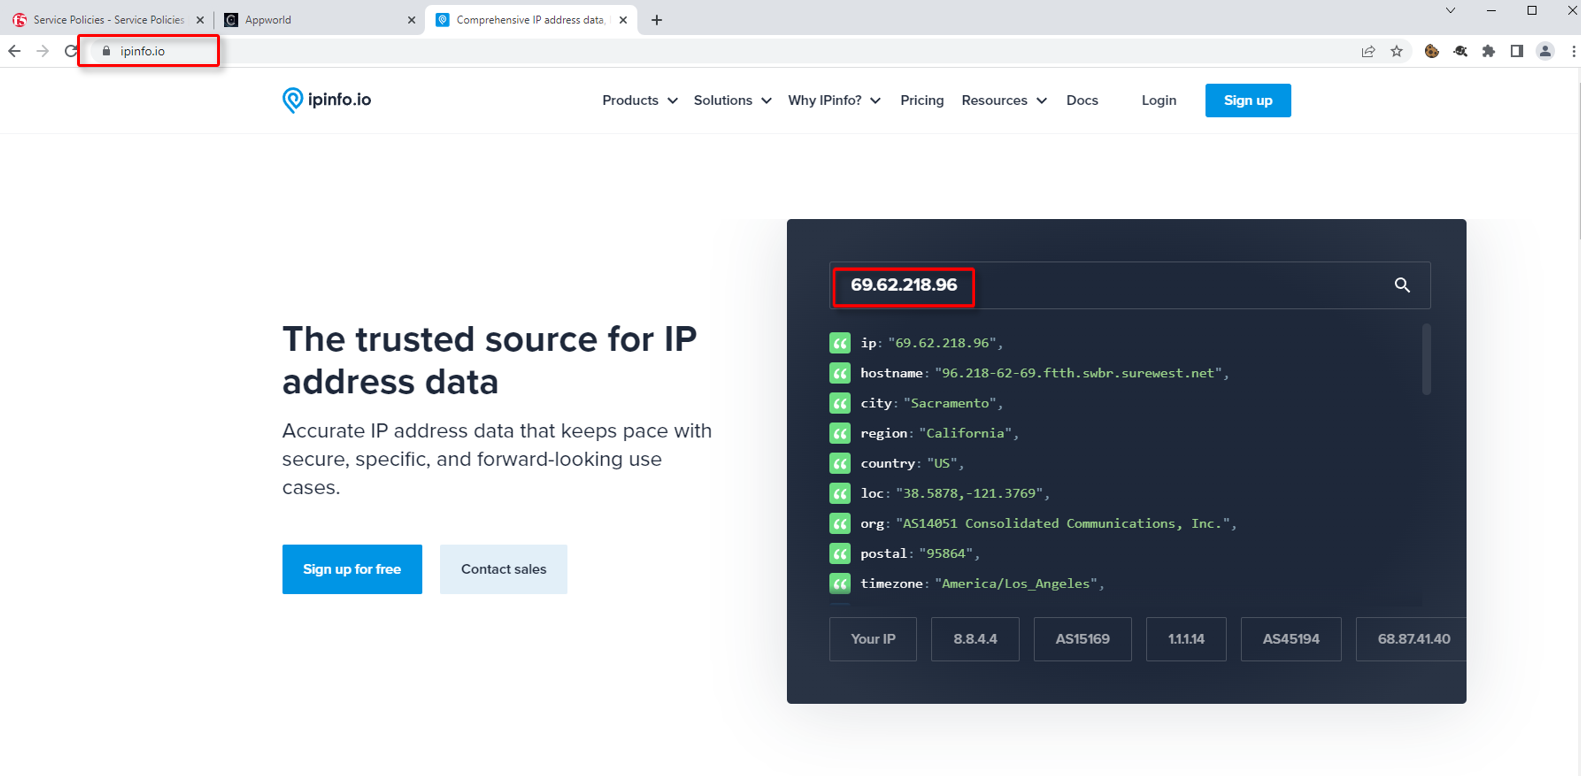
Open another tab in your browser (Chrome shown), navigate to https://ipinfo.io and note your IP address as shown. (example provided)
Return to the
Service Policieswindow and clickAdd Service Policy.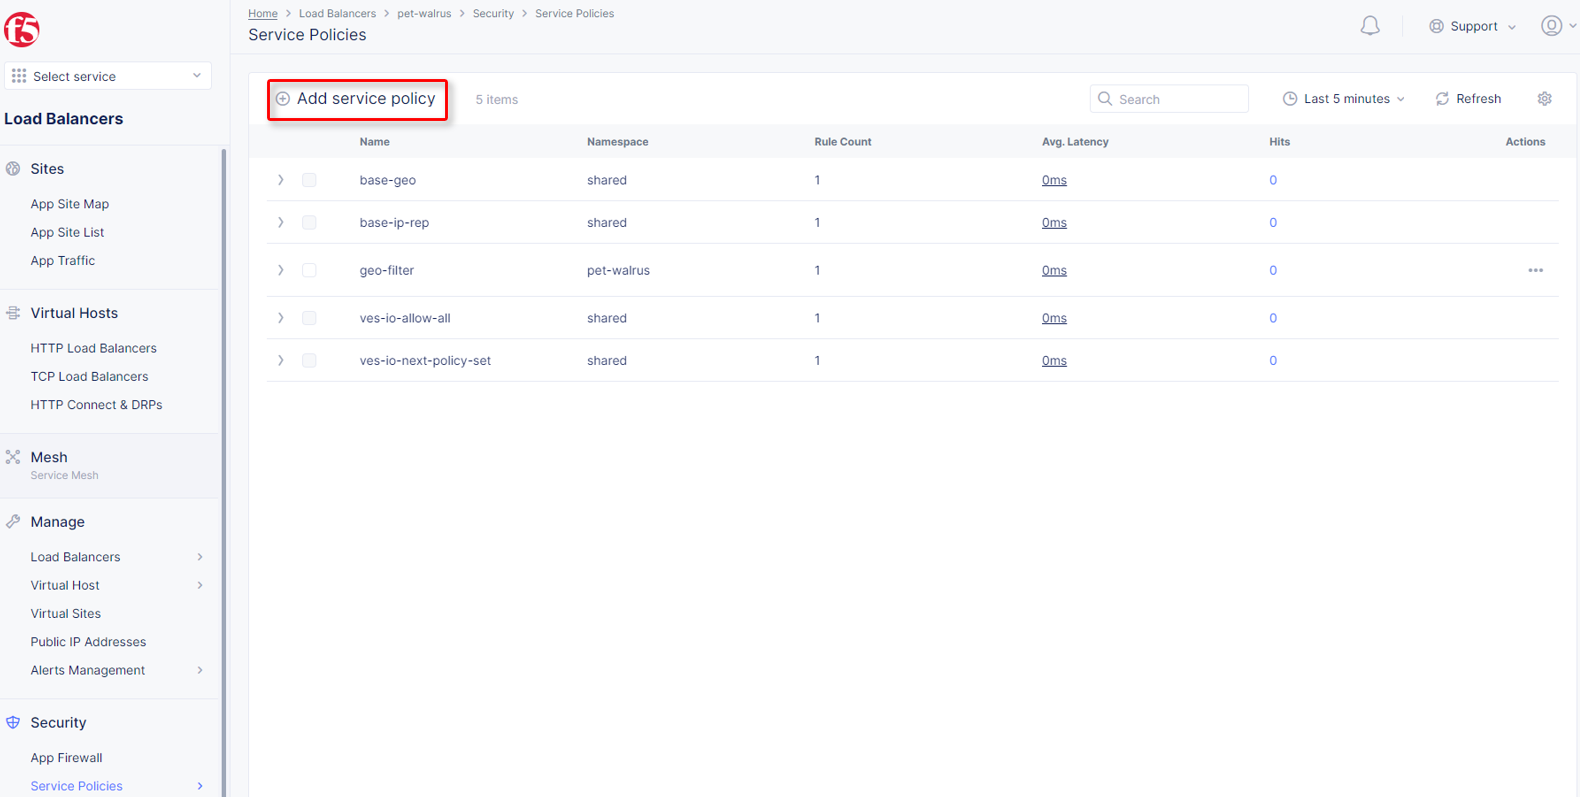
In the
Metadatasection enterallowed-ipfor theNameand then clickRulesin the left-hand navigation.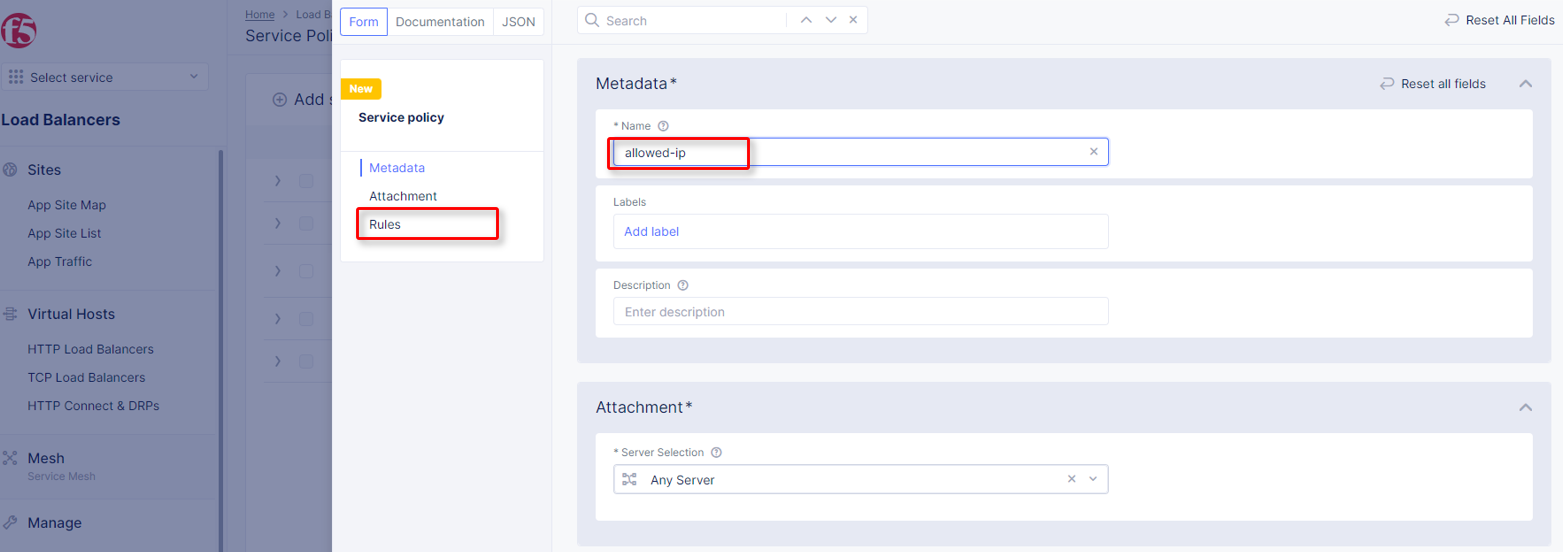
Select
Allowed Sourcesfrom the dropdown forSelect Policy Rules
locate the
IPv4 Prefix Listconfiguration section and clickConfigure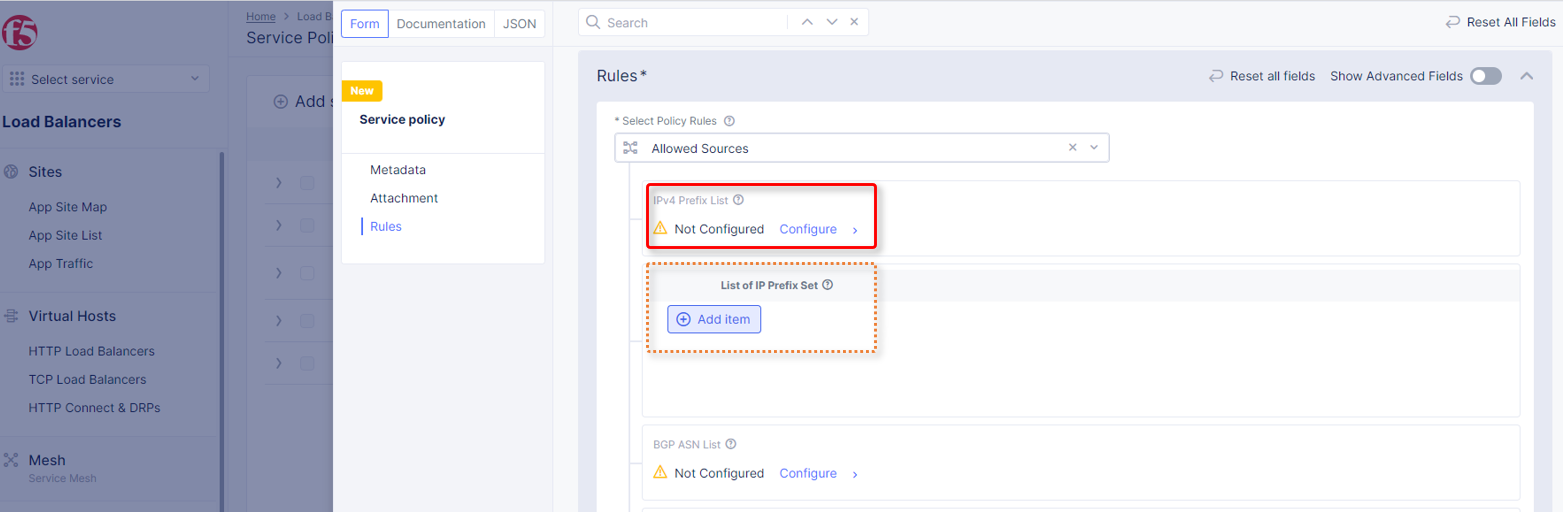
Enter your IP address with mask notation (/32), then click
Apply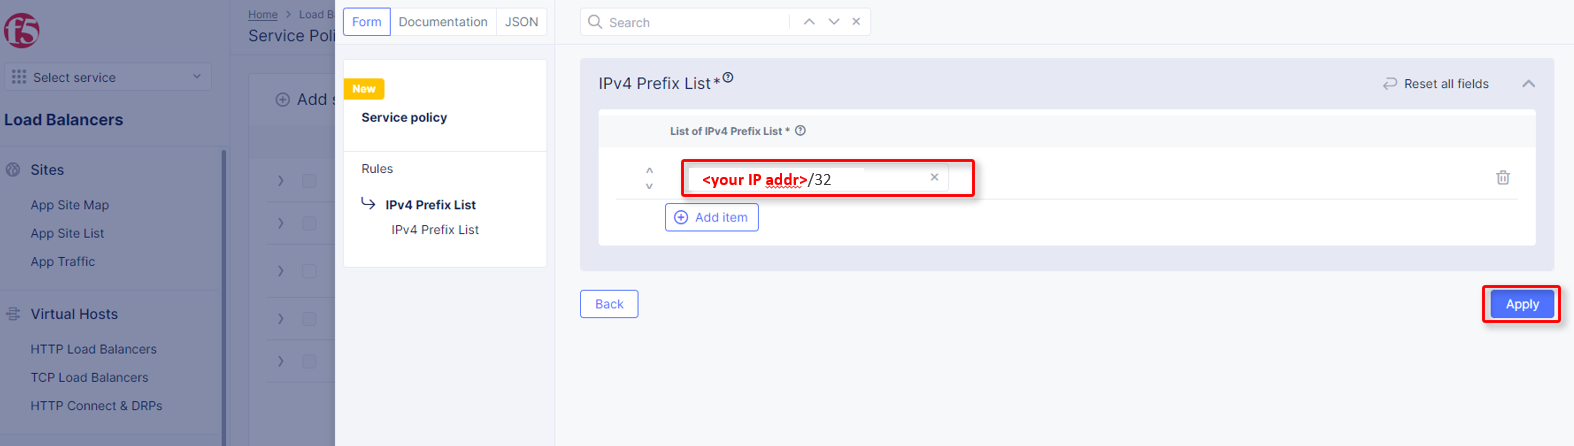
Click the dropdown for
Default Action, selectDeny, and clickSave and Exit.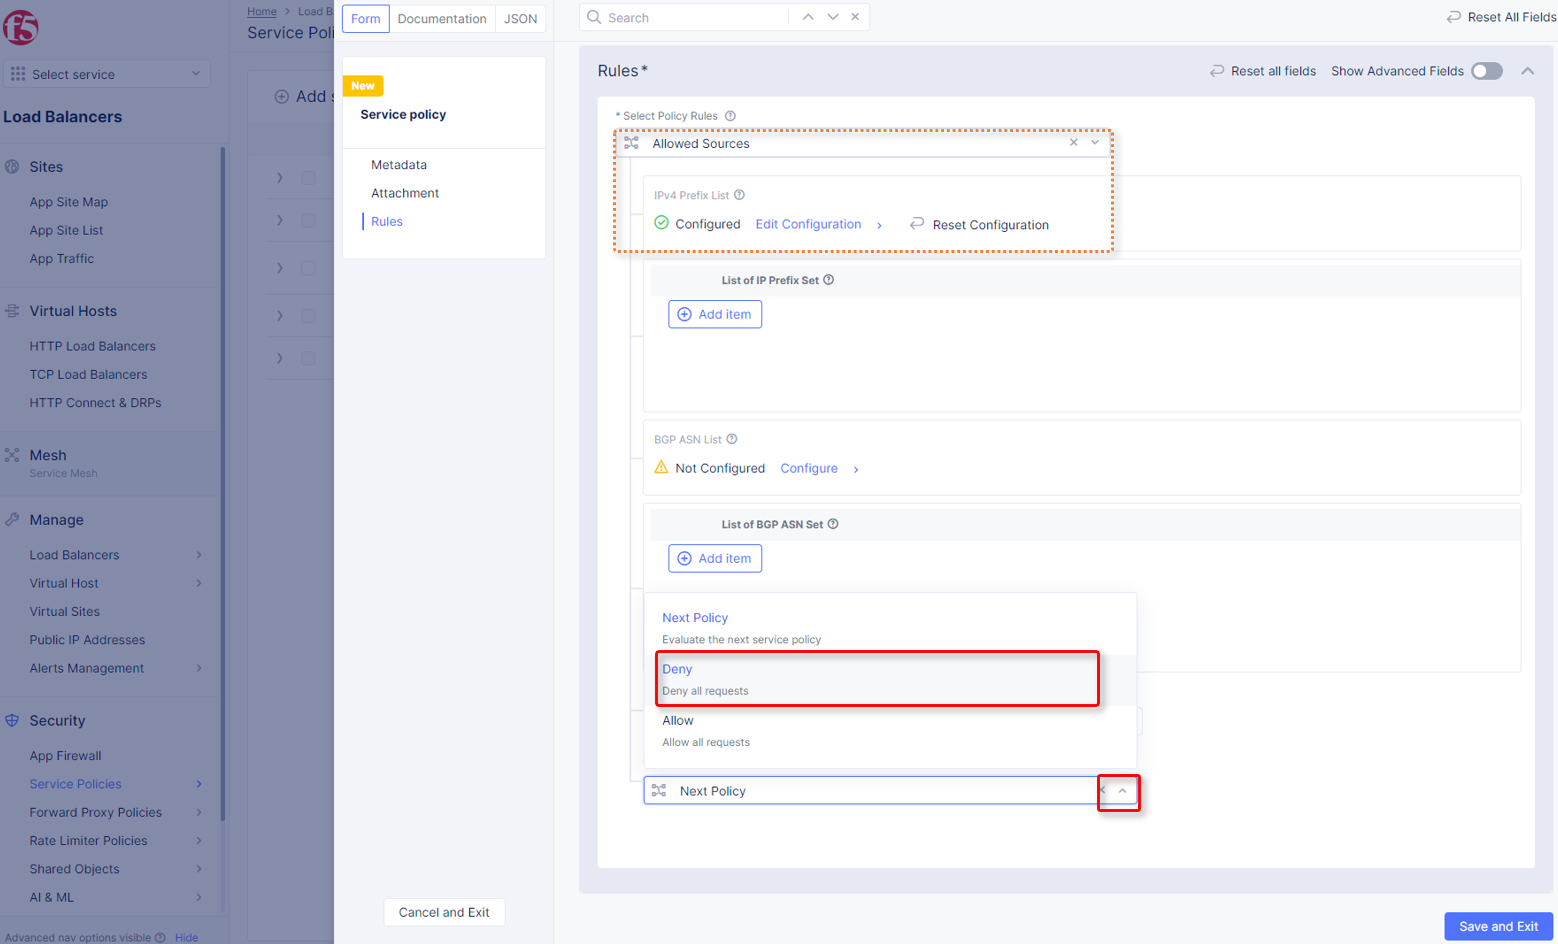
Observe the resulting added
allowed-ipService Policy added in your namespace.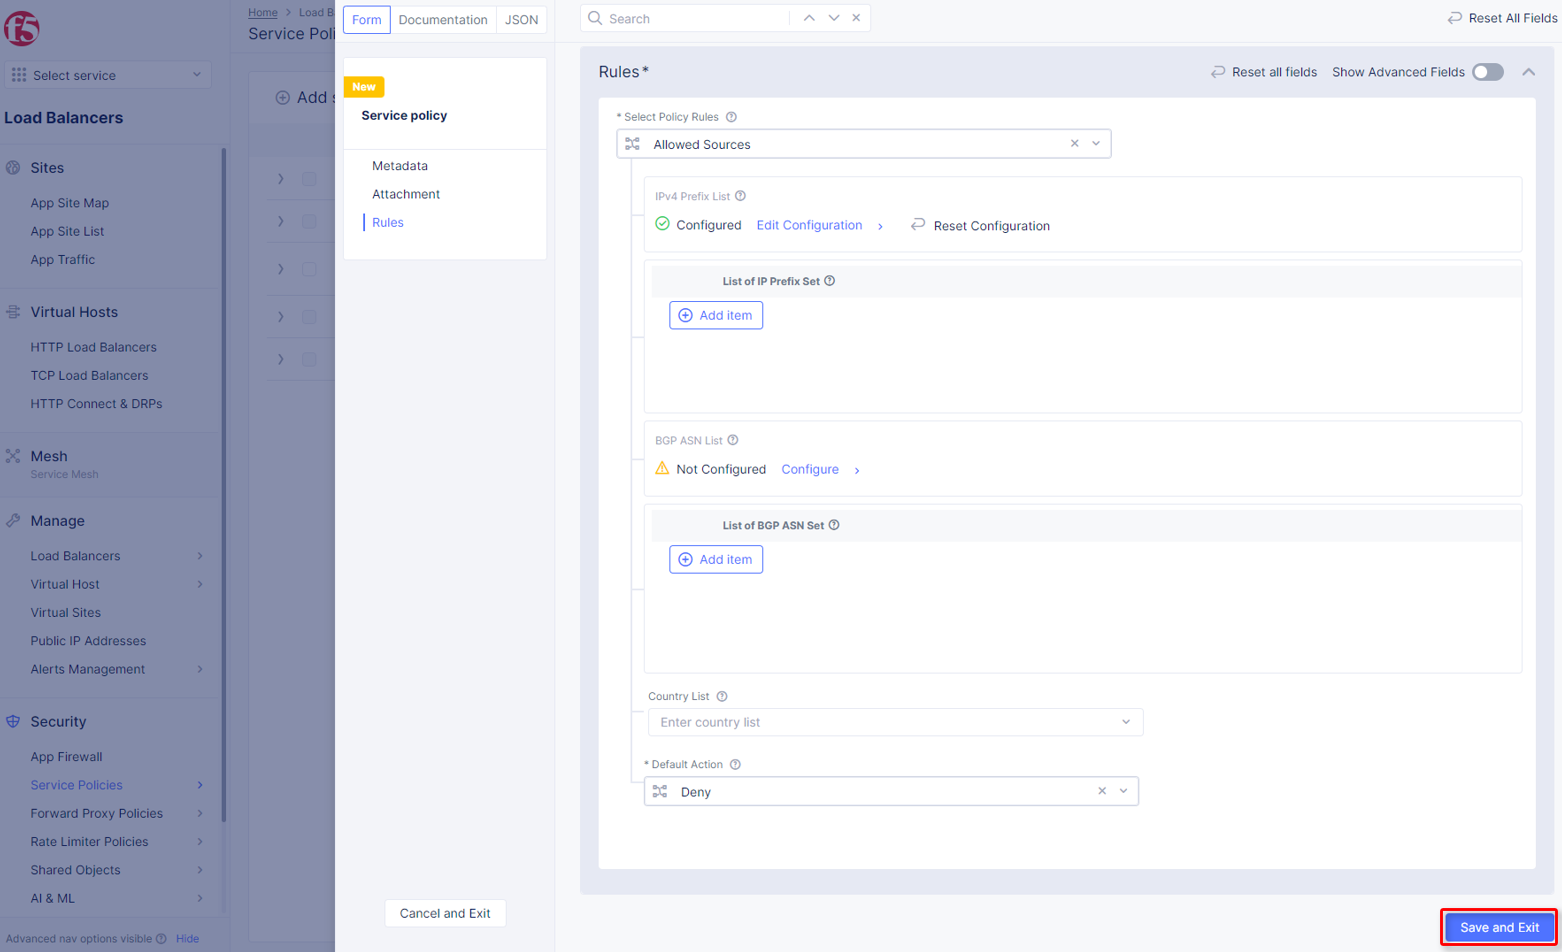
IP Reputation
Attach Service Policies to your configured Load Balancer.
Return to the Load Balancer in the F5 Distributed Cloud Console,
Manage>Load Balancer>HTTP Load Balancers
Click
Manage Configuration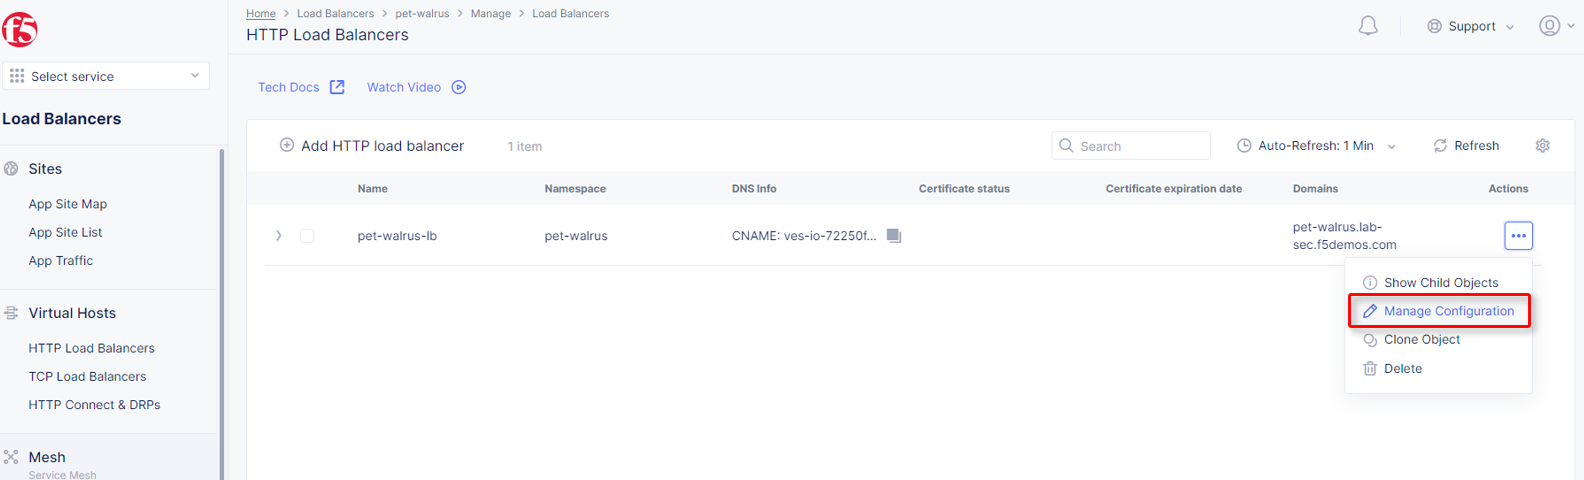
Click
Edit Configurationin the top right-hand corner.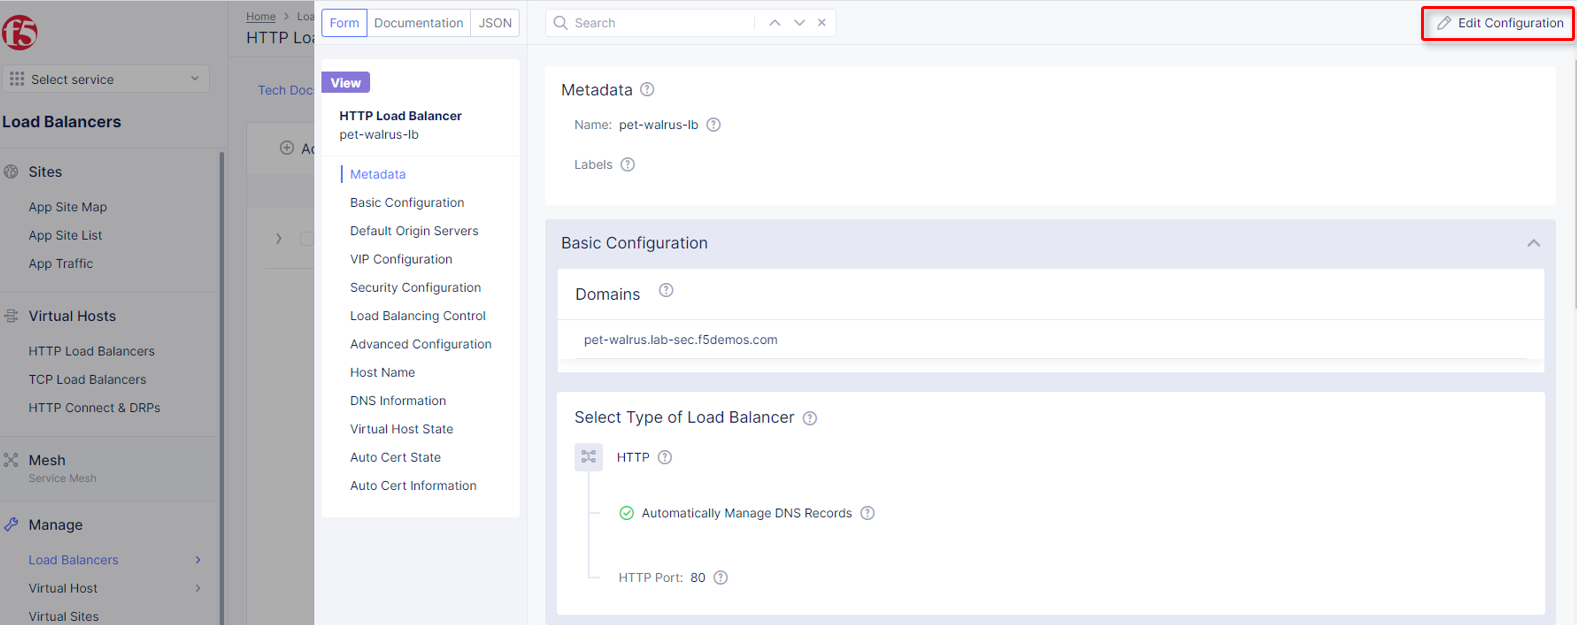
Click
Security Configurationin the left-hand navigation.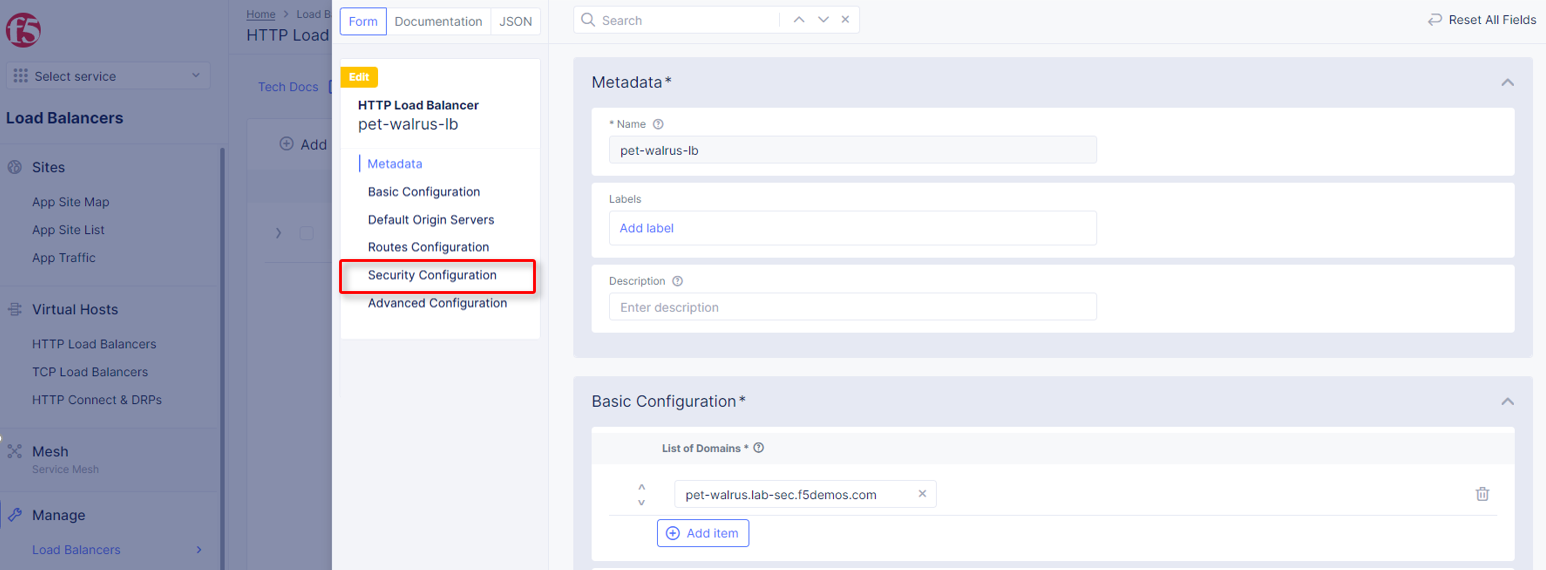
From the
Service Policiesdropdown, selectApply Specified Service Policies.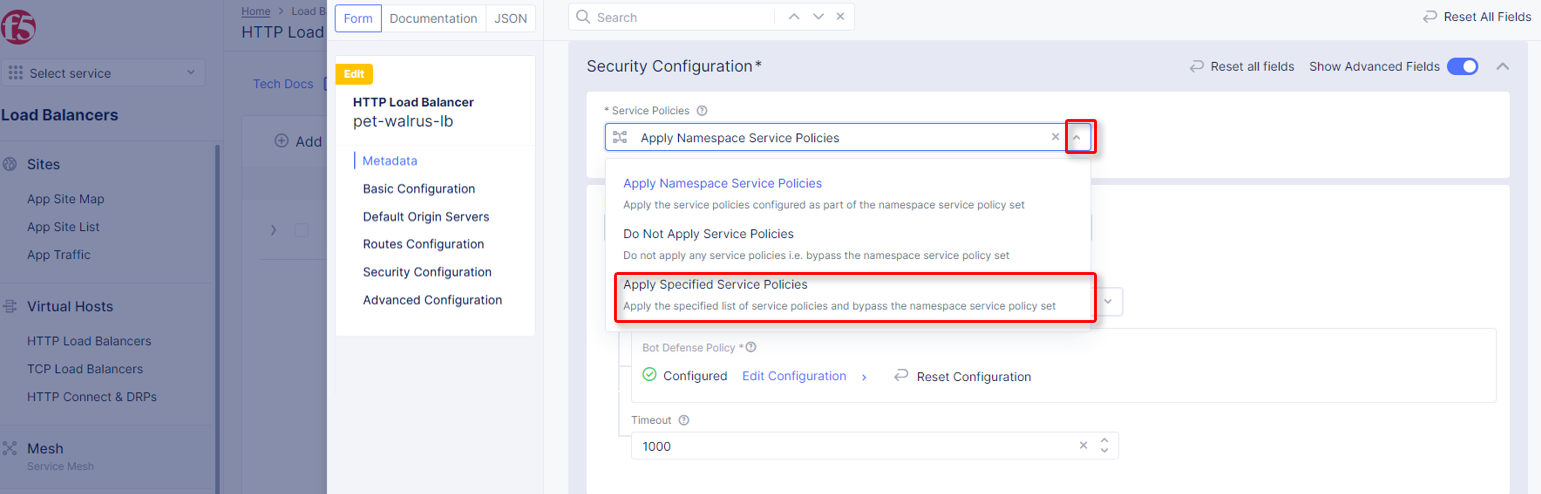
In the added menu for
Apply Specified Service Policies, clickConfigure.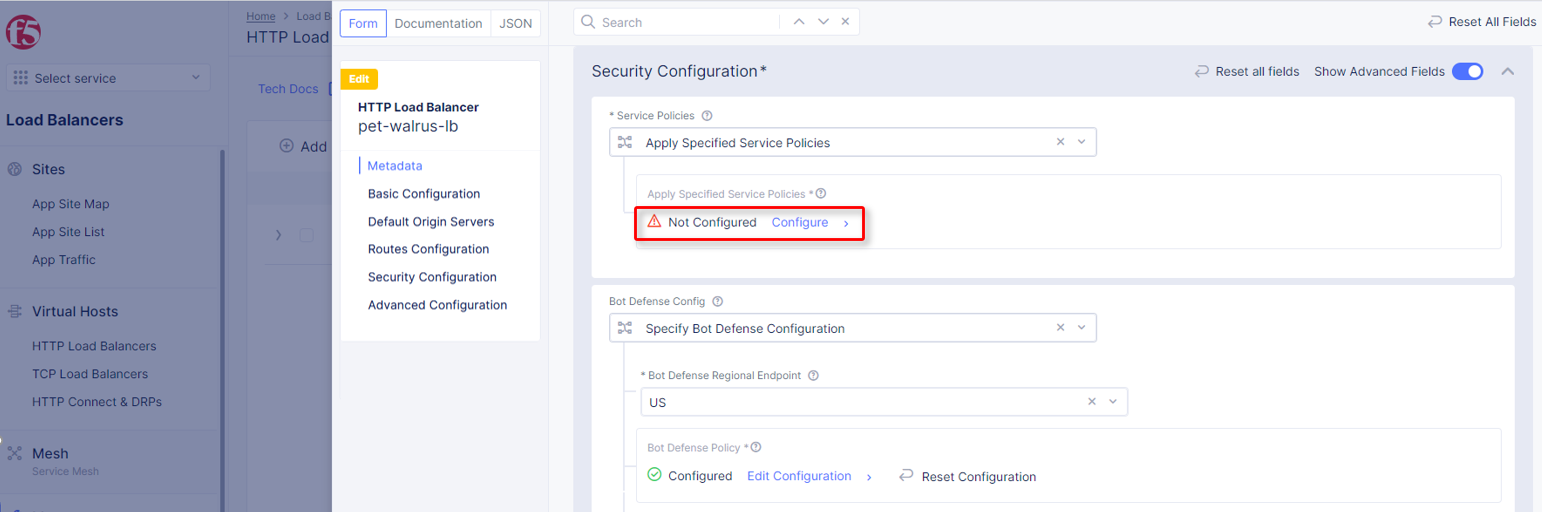
In the resulting
Policieswindow, use theList of Policiesdropdown to select your<namespace>/geo-filterService Policy. Then clickApply.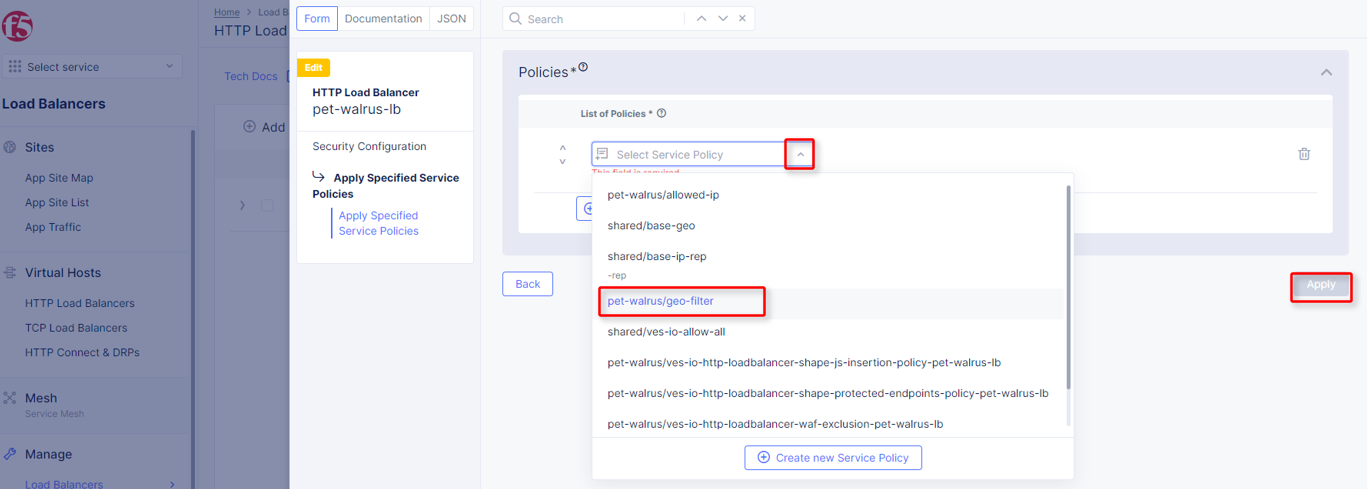
Returning to the Load Balancer dialogue, note the changes shown in the
Service Policiessection.As we are already in this section, we will go ahead and add IP reputation filtering. This can be added as a Service Policy (shared or local namespace) or as a direct configuration.
To start, the IP Reputation configuration, locate the IP Reputation section and click the dropdown menu, then select
Enable.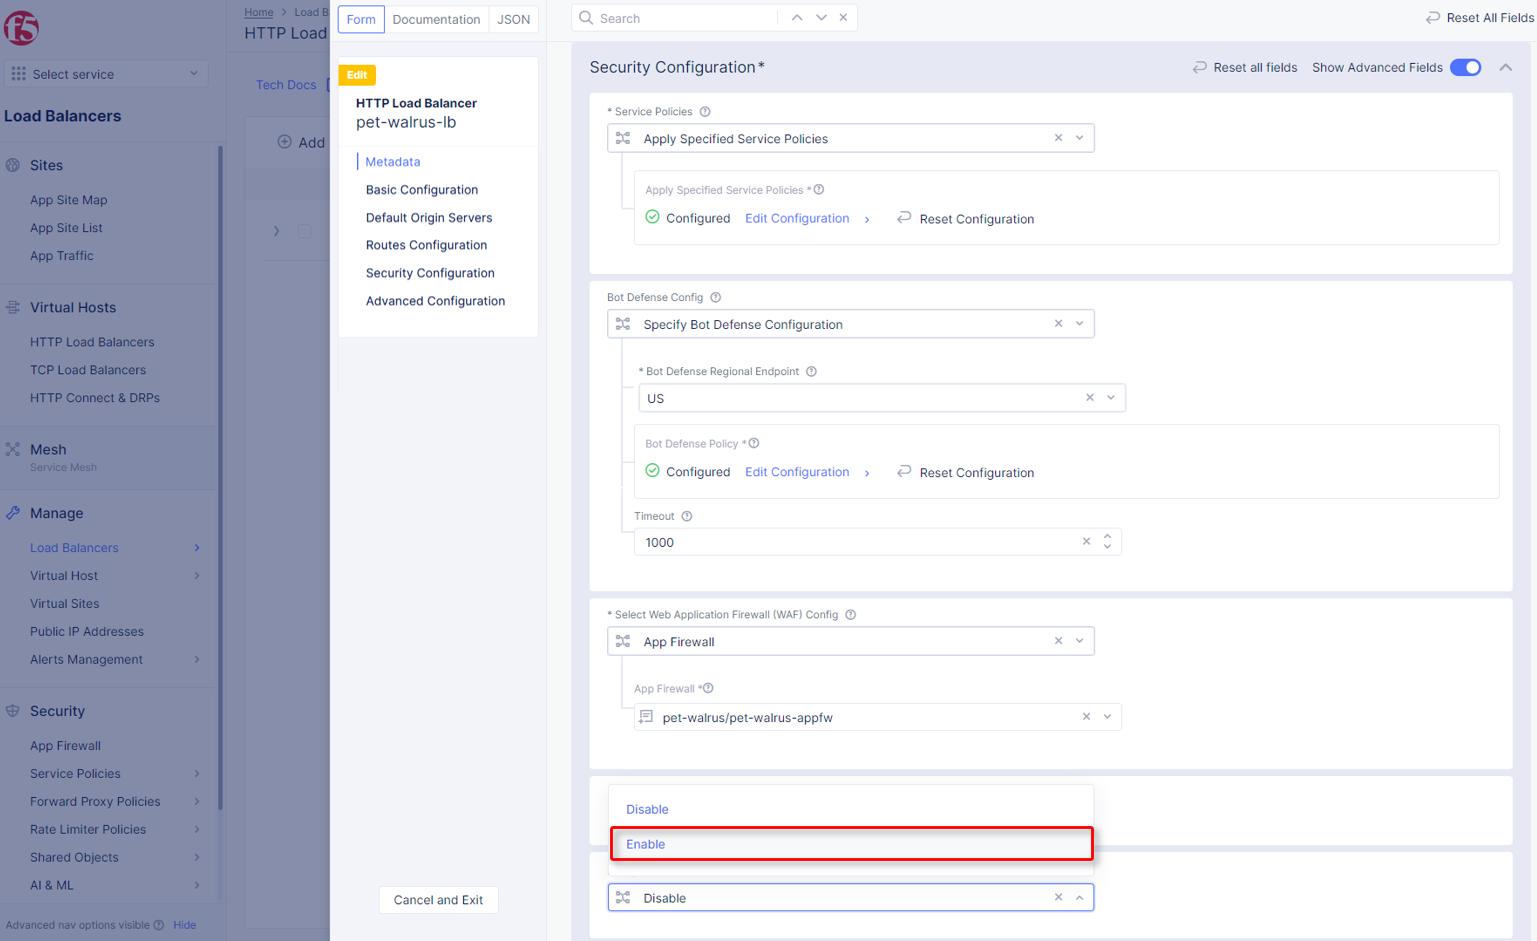
Using the
List of IP Threat Categories to chooseadd any of the configured Threat categories.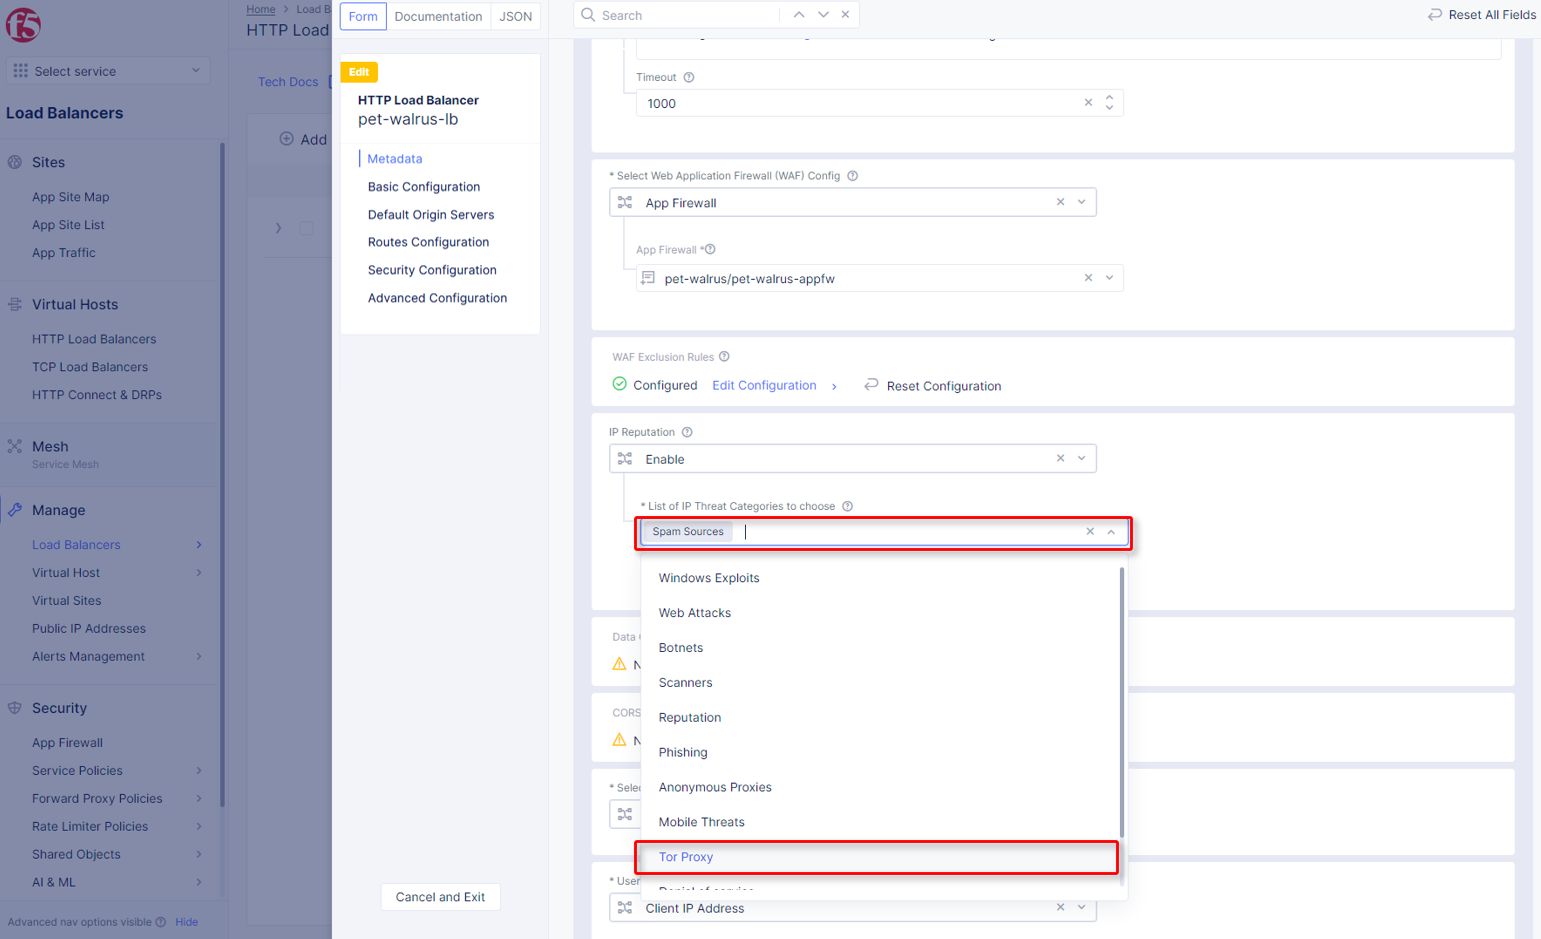
Select
Spam SourcesandTor Proxy, then scroll to the bottom of the window and click theSave and Exitbutton.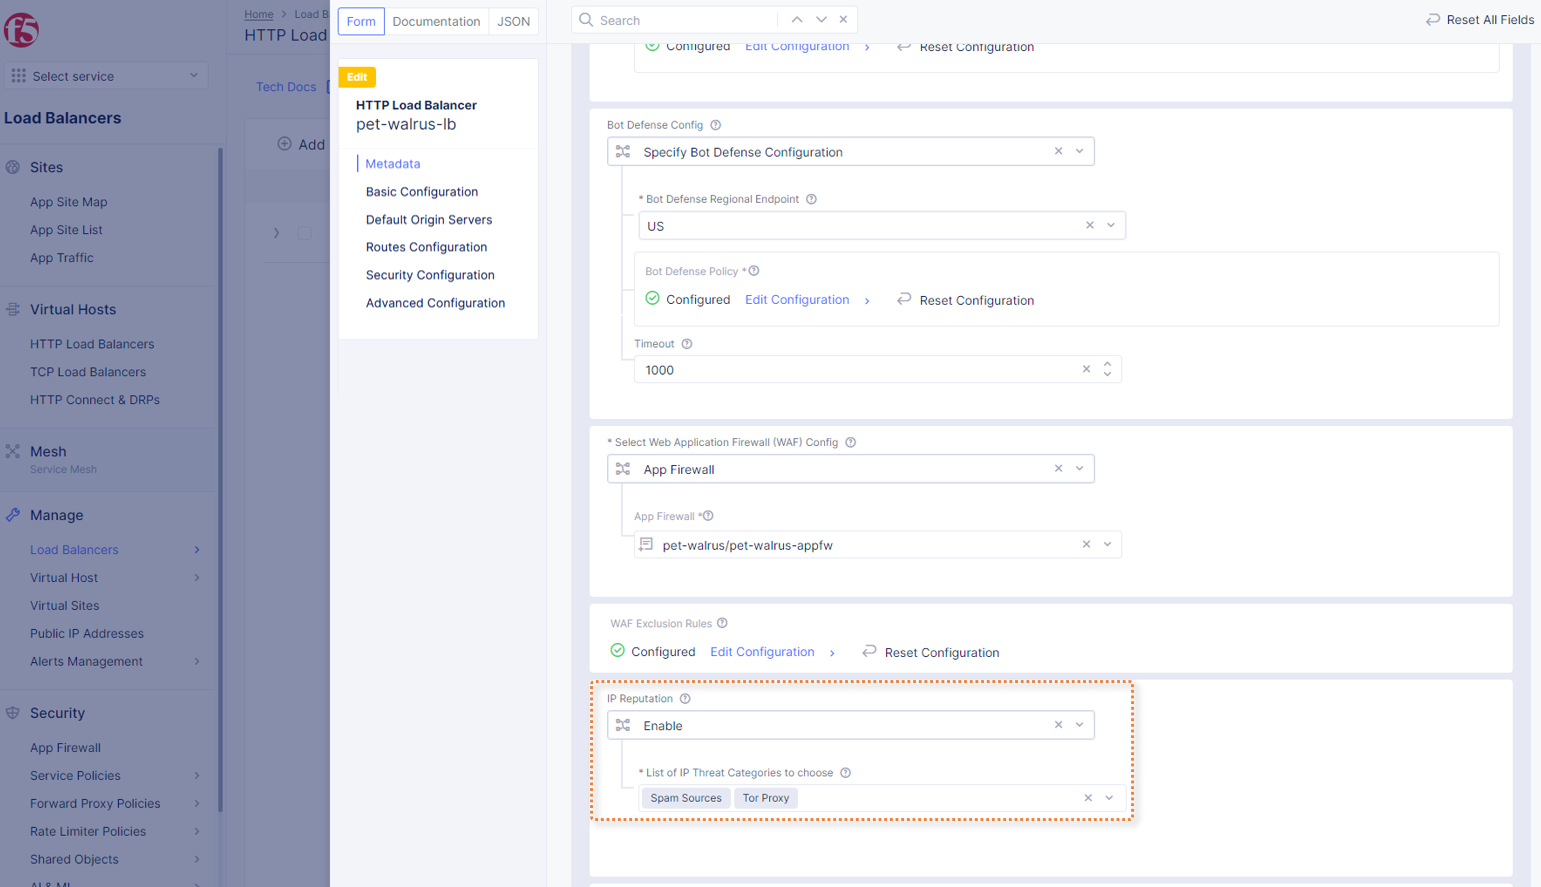
In your browser (Chrome shown), navigate to your application/Load Balancer configuration:
http://<namespace>.lab-sec.f5demos.com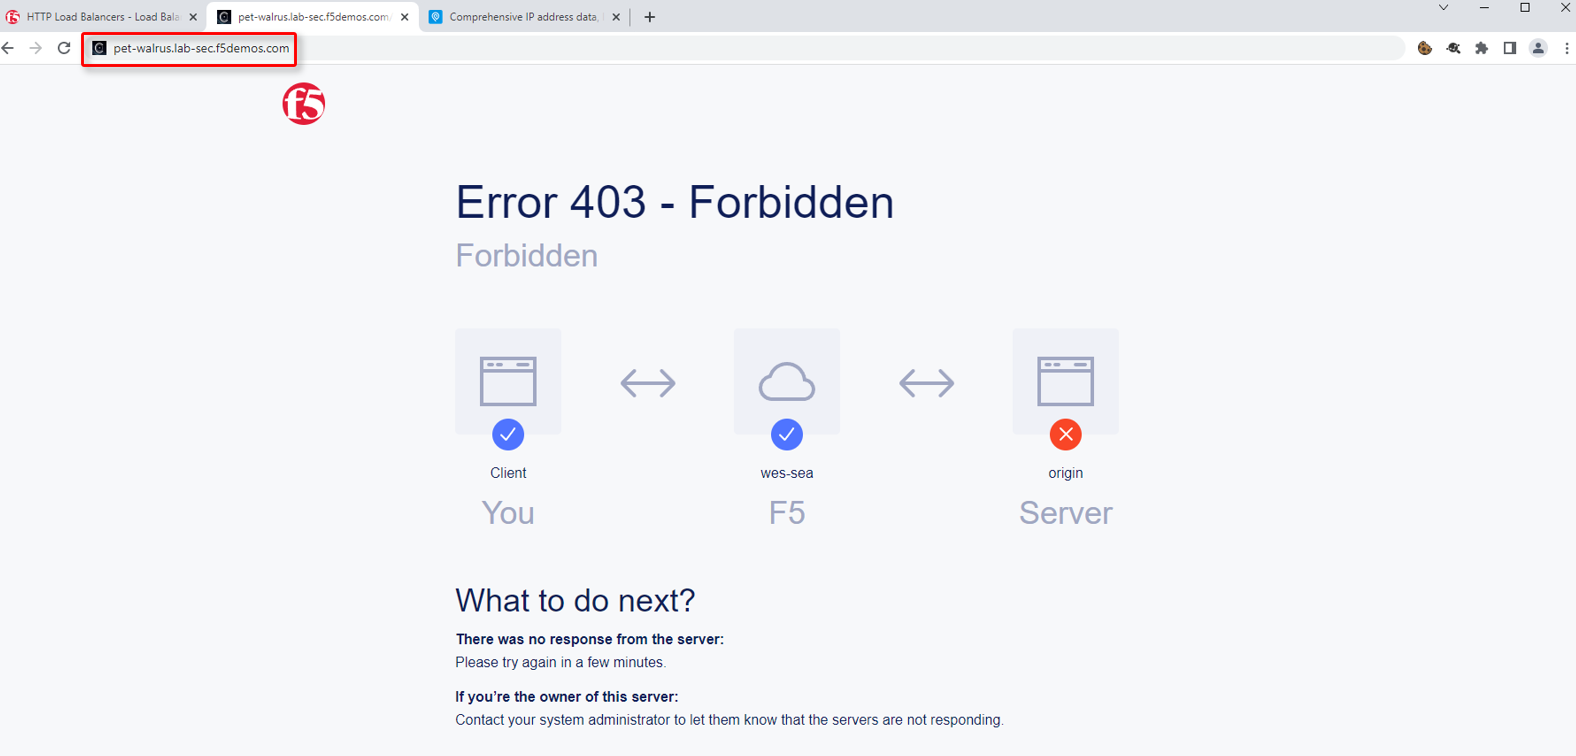
You should receive a 403 Forbidden error. This is due to a Service Policy configuration error. Because we only attached the
geo-filterService Policy and theDefault ActionwasNext Policy, there is no other or next policy to “Allow” traffic, therefore, all other traffic is disallowed producing the 403. This is will also show in theSecurity Eventswindow.
Return to the Load Balancer in the F5 Distributed Cloud Console, Manage > Load Balancer > HTTP Load Balancers and use the
Action Dotsand clickManage Configuration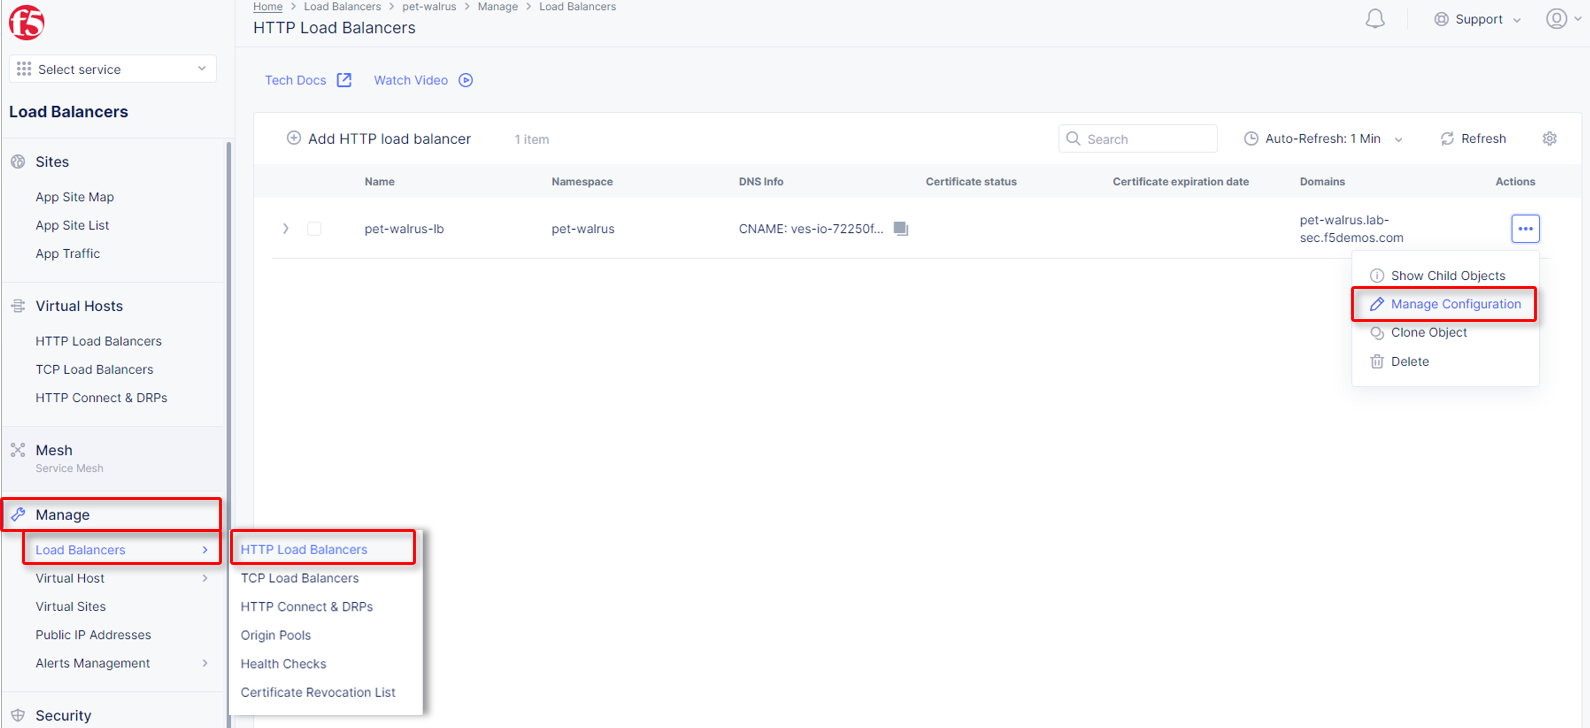
Click
Edit Configurationin the top right-hand corner.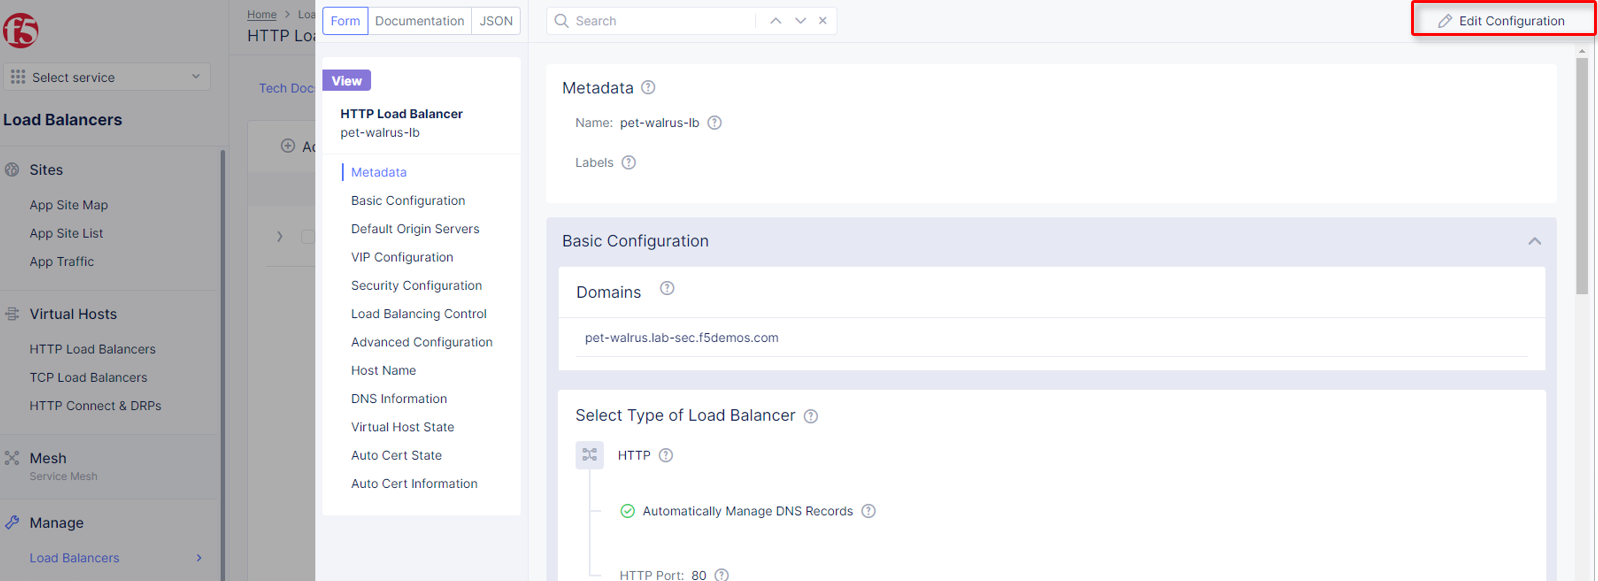
Click
Security Configurationin the left-hand navigation.From the
Service Policiessection, clickEdit Configuration.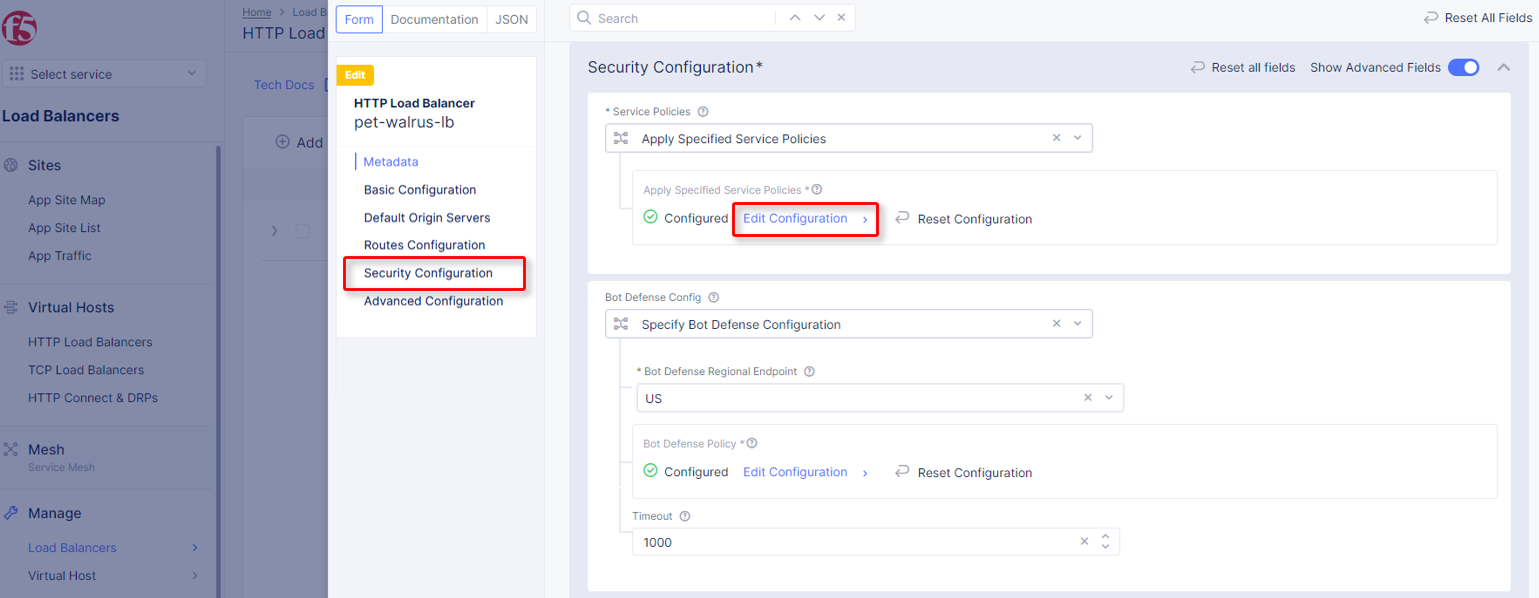
In the resulting window click
Add Itemand from the dropdown select you allow-ip Service Policy<namespace>/allowed-ip.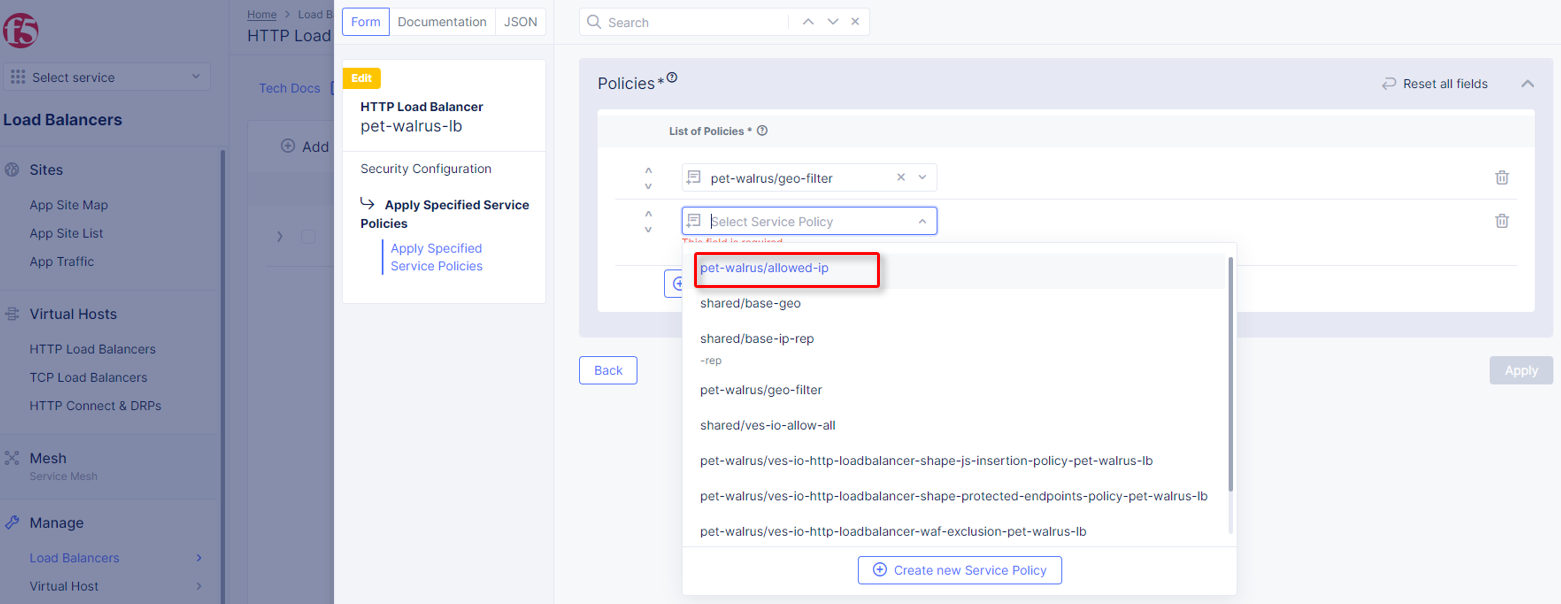
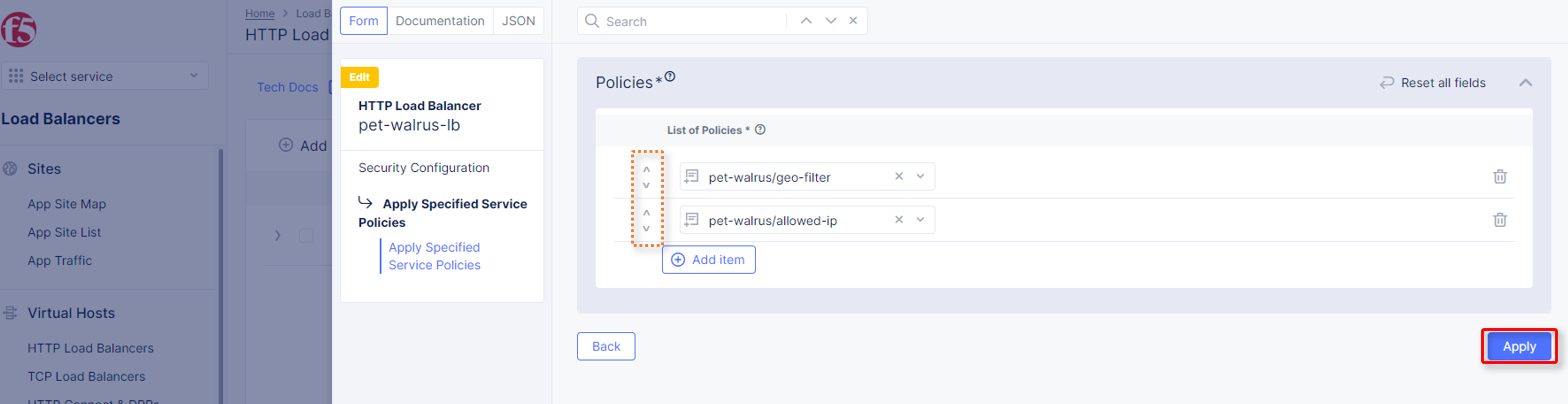
Observe the order. Service Policies must be ordered correctly in a order to process traffic as intended. Click
Applywhen completed.Note
The allowed-ip begins with an allowed ip (yours) and ends in a “Deny” a positive security model will be applied (denying all other traffic). Similar positive or negative service policies can be created and applied (Headers, methods, file types, etc)
Scroll to the bottom of the HTTP Load Balancer configuration and click
Save and Exit.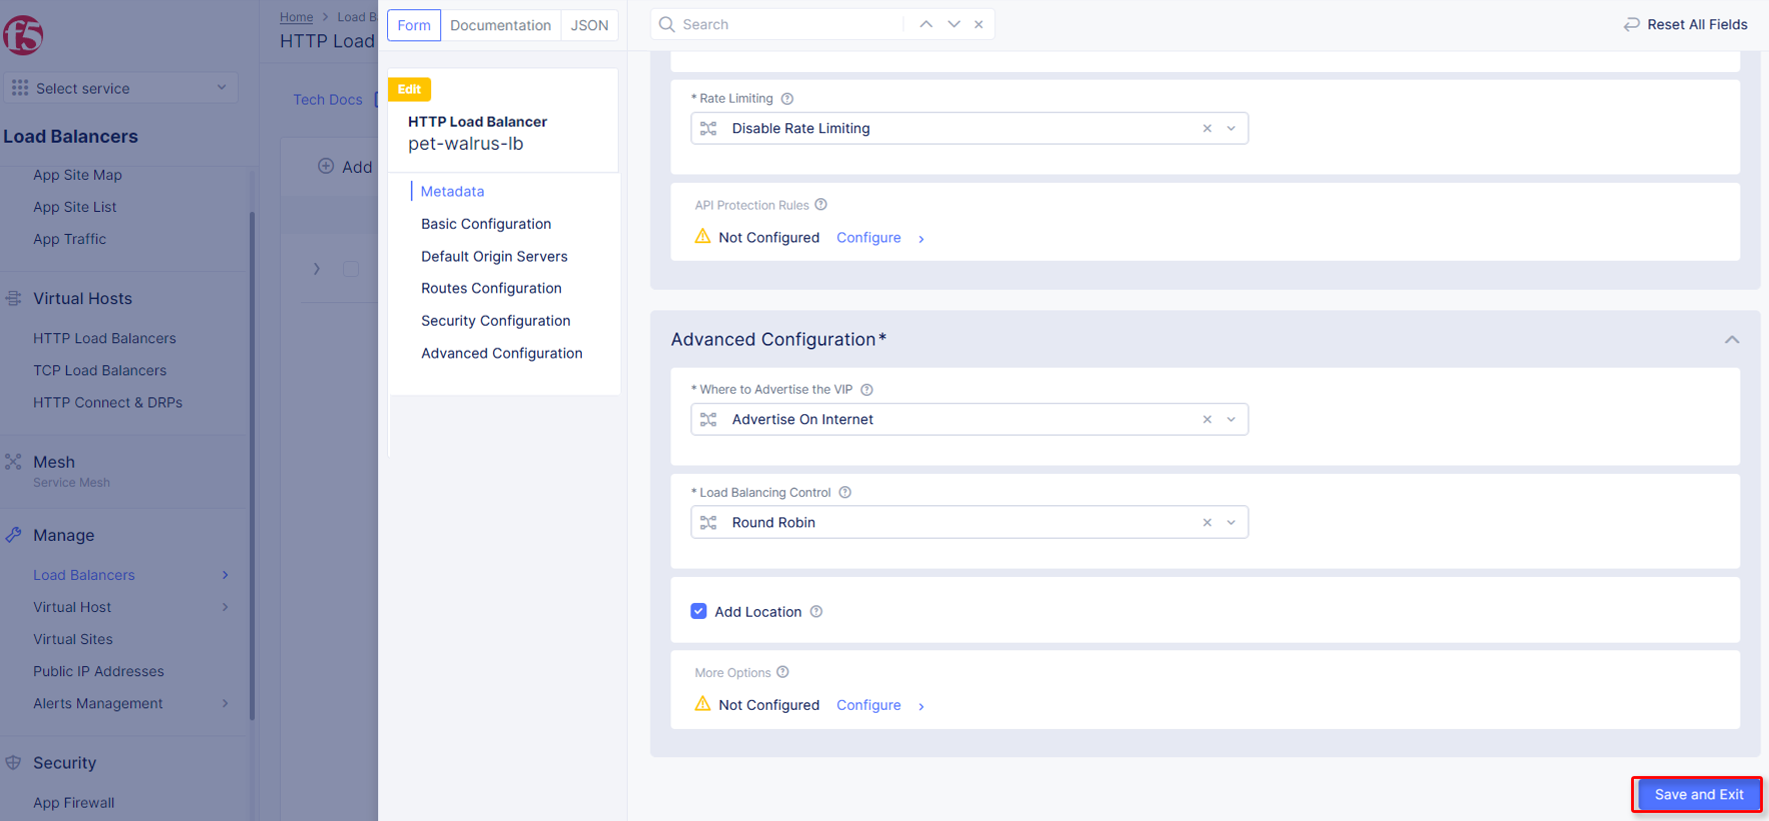
In your browser, navigate to the application/Load Balancer URL:
http://<namespace>.lab-sec.f5demos.comand successfully log in.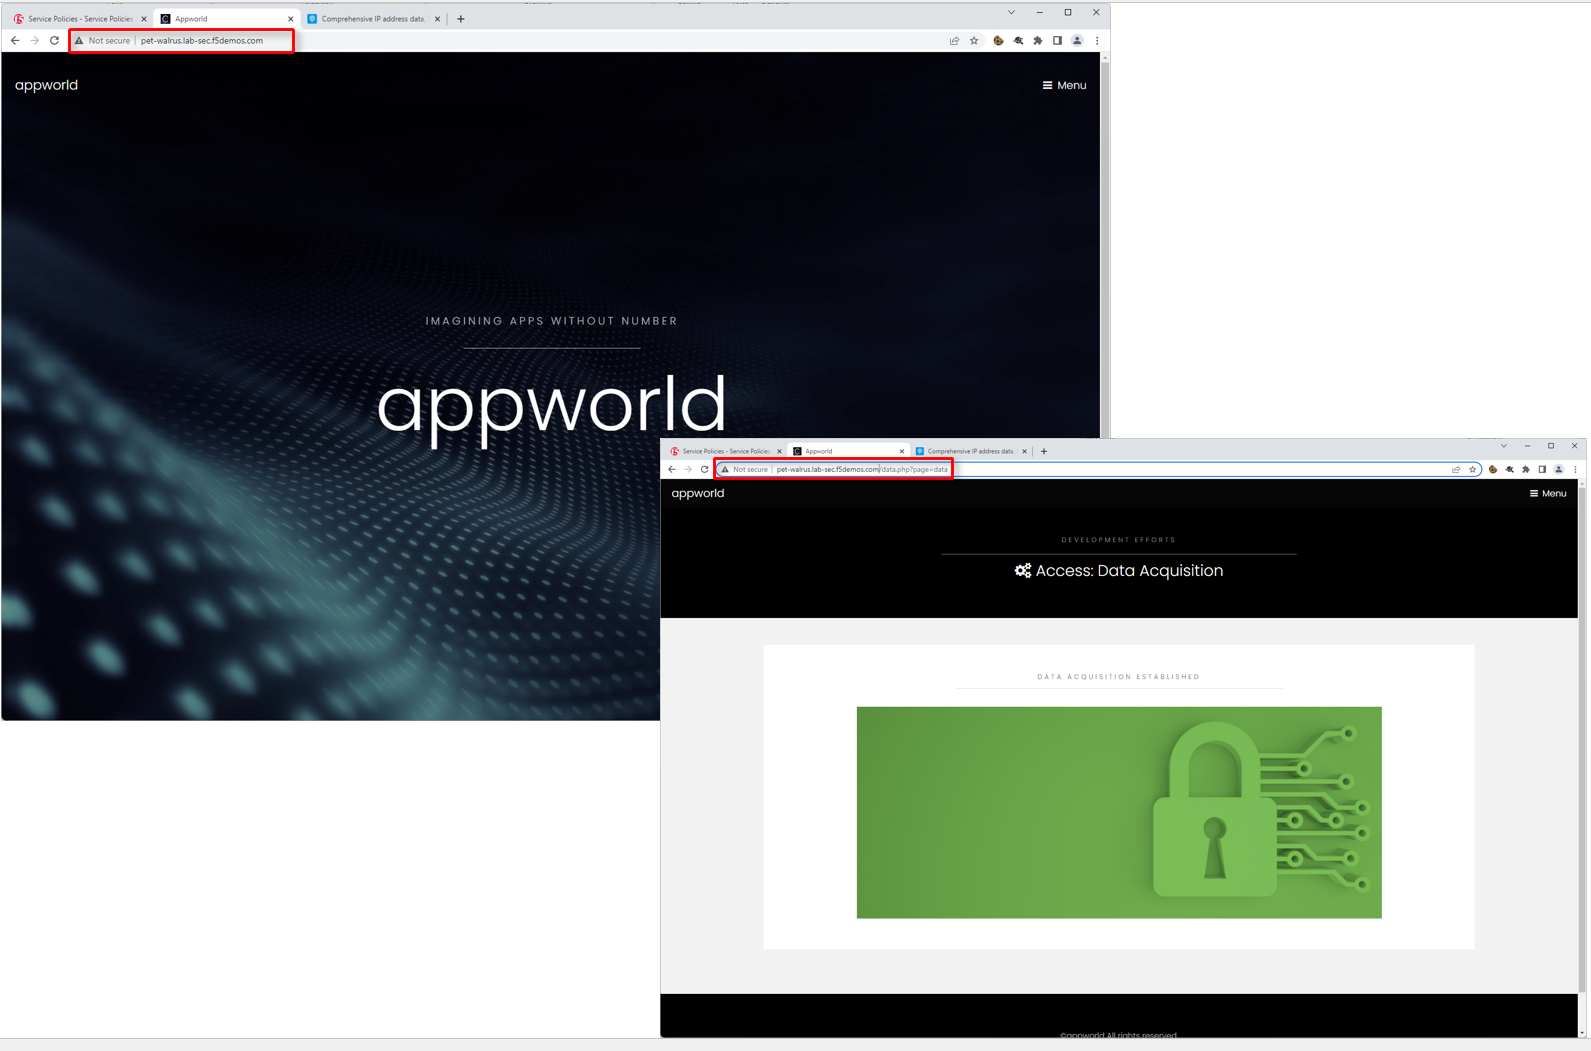
Routes
Attach Service Policies to the configured Load Balancer.
Navigate to
Manage>Load Balancer>HTTP Load Balancers, click the Action Dots, and clickManage Configuration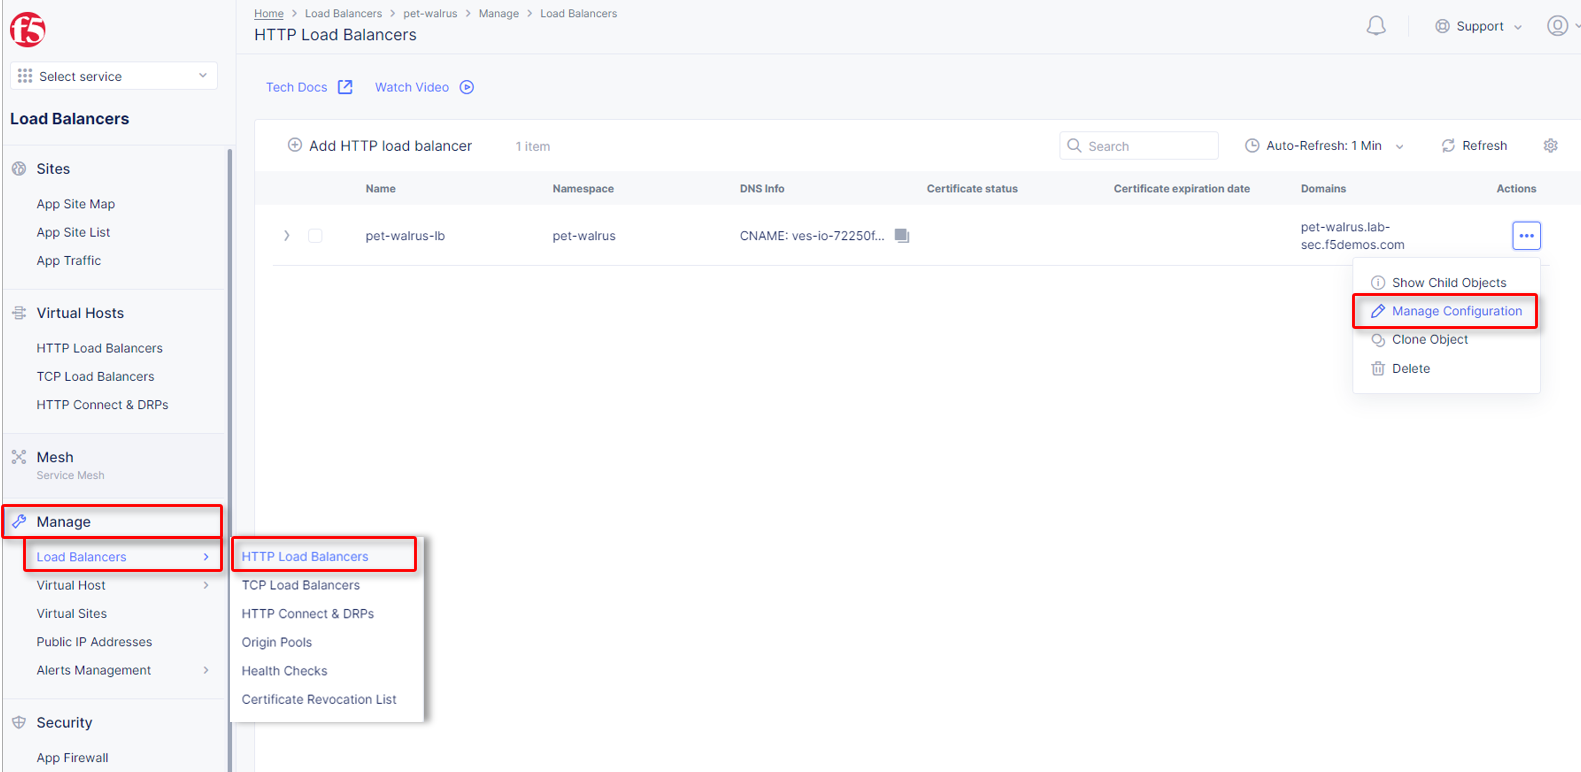
Click
Routes Configurationin the left-hand navigation, and selectEdit Configuration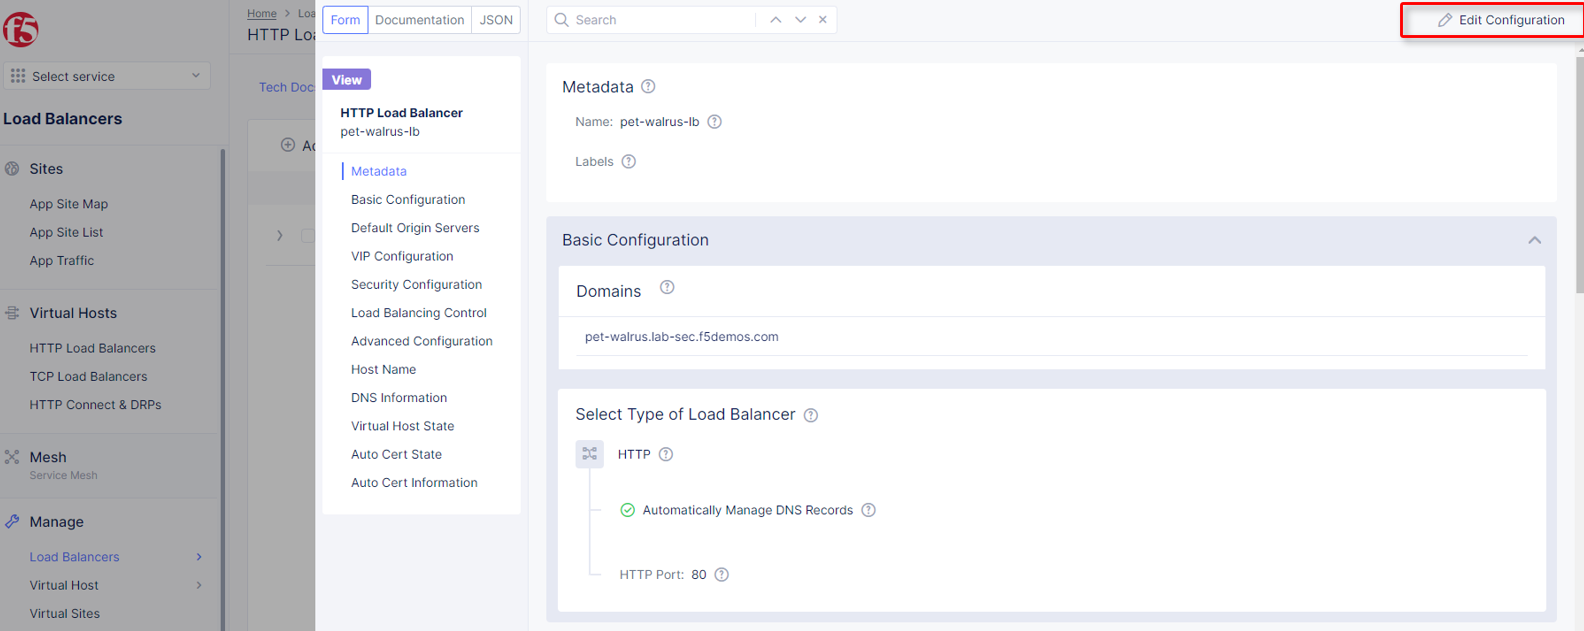
Toggle the
Show Advanced Fieldsbutton to the On position, and Under theRoutessection, clickConfigure.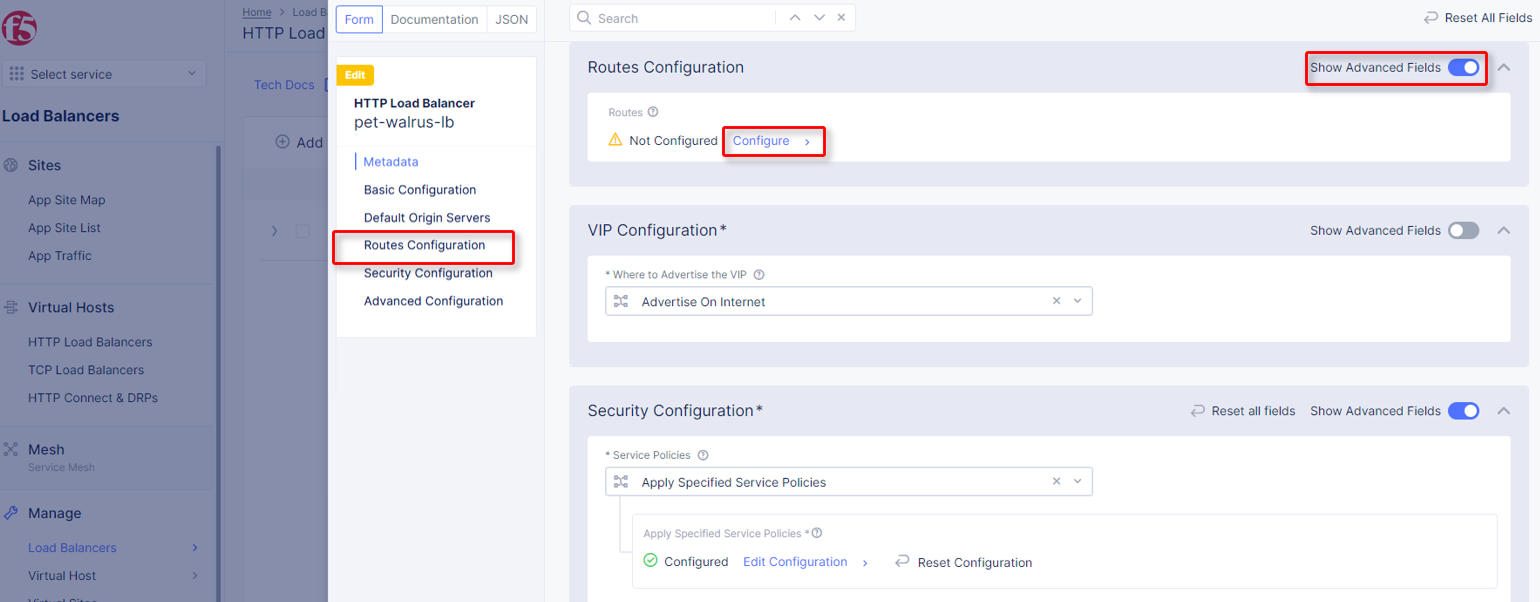
In
Routes, click theAdd Itemlink.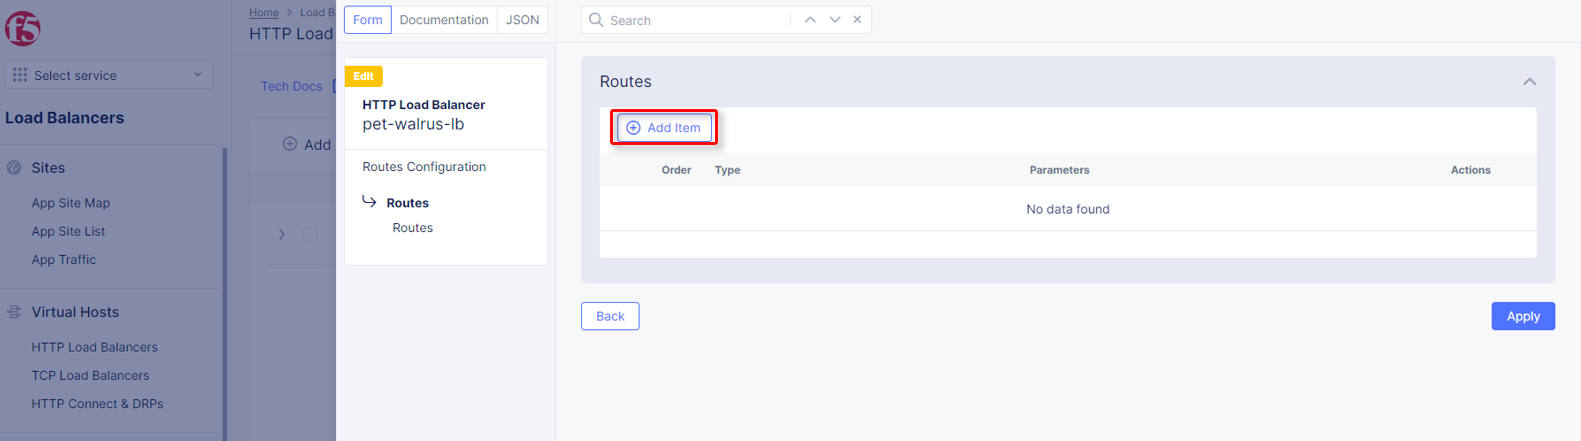
In the resulting menu, toggle the
Show Advanced Fieldsbutton to the On position.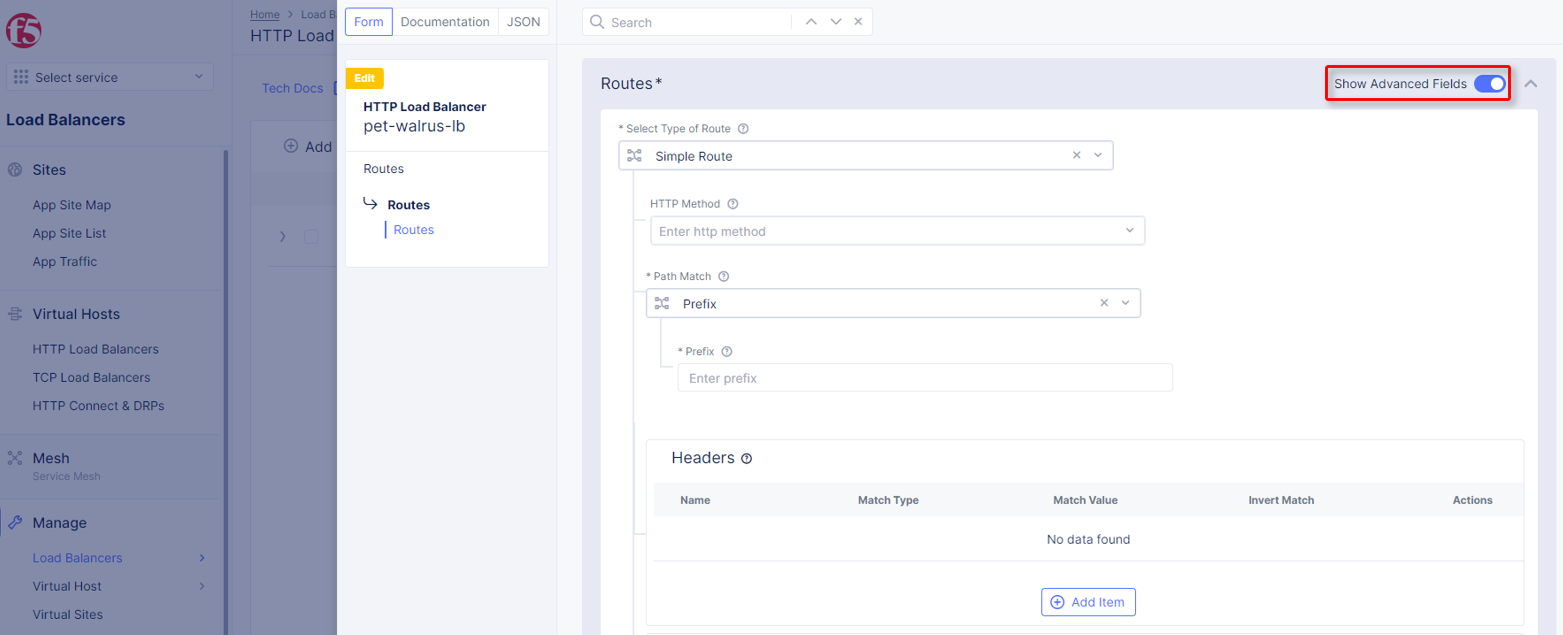
Observe the various route types and matching criteria controls that can be leveraged to securely control access, perform pool targeting, make path responses or develop custom control to secure protected applications.